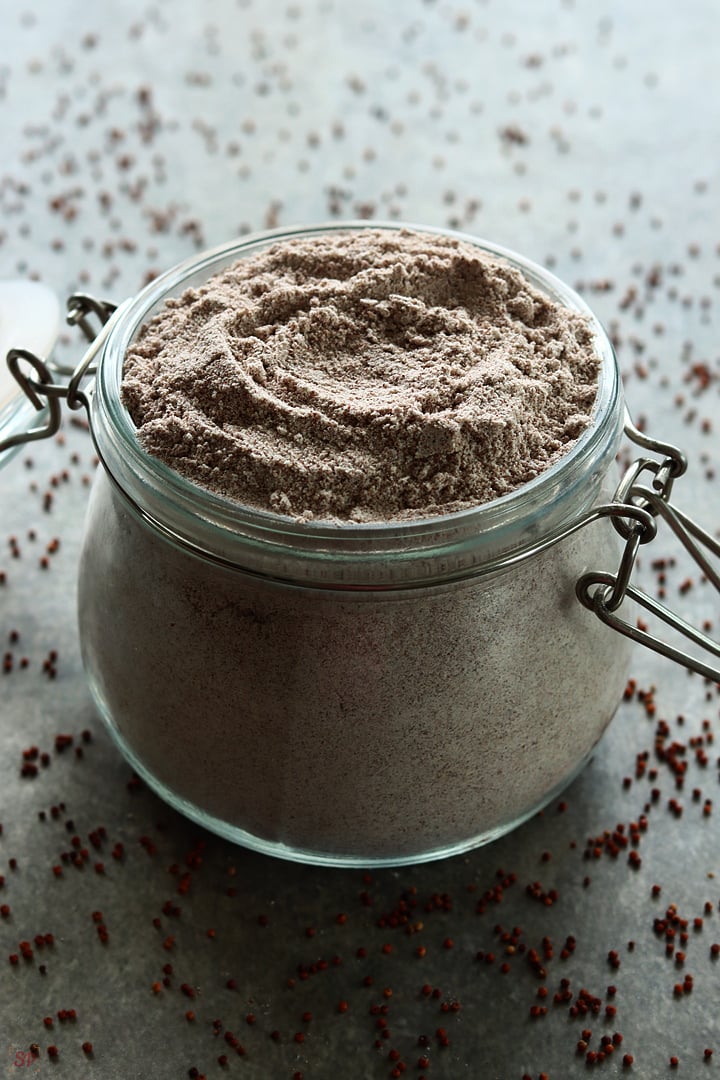
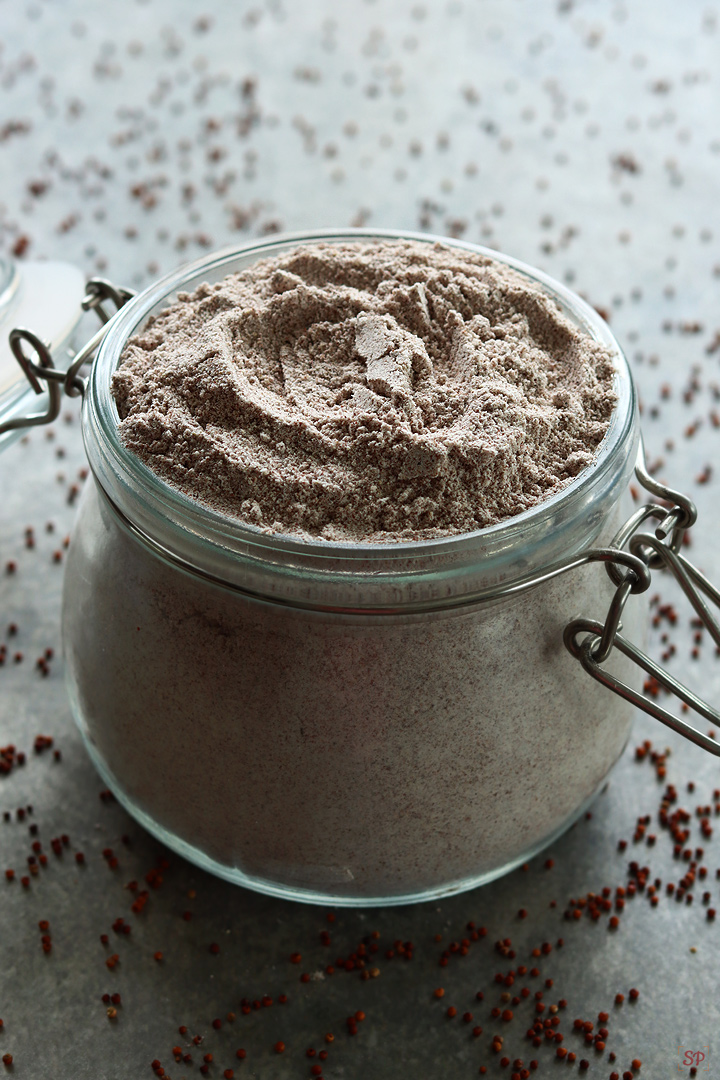
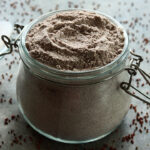
Ragi Powder also known as Ragi Flour can be made easily at home. Homemade Ragi Powder is a nutritious, whole-grain flour made by cleaning, rinsing, soaking, sprouting, drying, and grinding finger millet (ragi) at home. It has a light brown color, a slightly nutty aroma, and a mild earthy taste.
Sprouted ragi flour is made by soaking and germinating ragi (finger millet) grains before drying and grinding them. Sprouting enhances the nutritional value, digestibility, and flavor of the flour. It is especially popular for making baby foods, porridges, malt drinks, and rotis due to its soft texture and improved taste.
Jump to:
About Ragi Flour
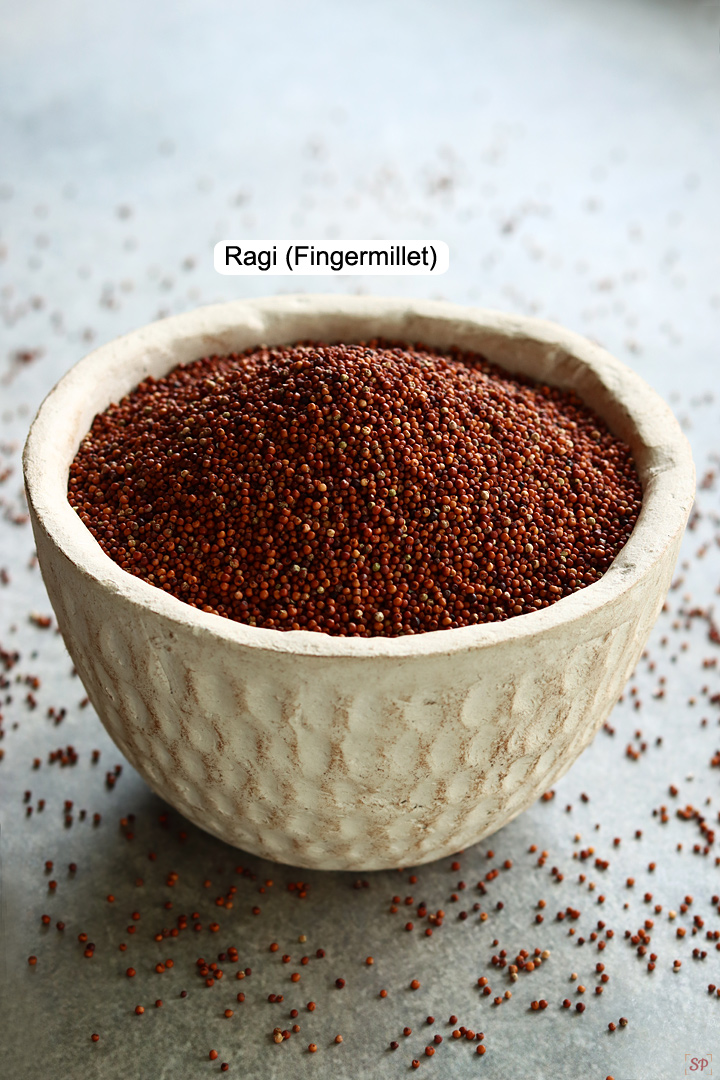
Ragi as it is popularly known in Kannada is Finger millet in English, Kezhvaragu or Keppai in Tamil, Ragulu in Telugu, Mandika in Hindi and Nachani in marathi etc. Homemade Ragi Powder is nutritious and is super beneficial too.
Ragi or Finger Millet is very nutritious and it is always said that the nutrition doubles up when any millet or bean is sprouted. I agree it takes time and effort to make homemade flours but I tell you, after making I am sure you will feel content, happy and will never look back at store bought flour.
Ragi is an easily digestible millet hence it is first started solids for babies. Ragi is very good especially for kids and elders and no wonder its the first grain introduced to babies. Preparing ragi flour at home ensures it's pure, fresh, and free from preservatives or additives.
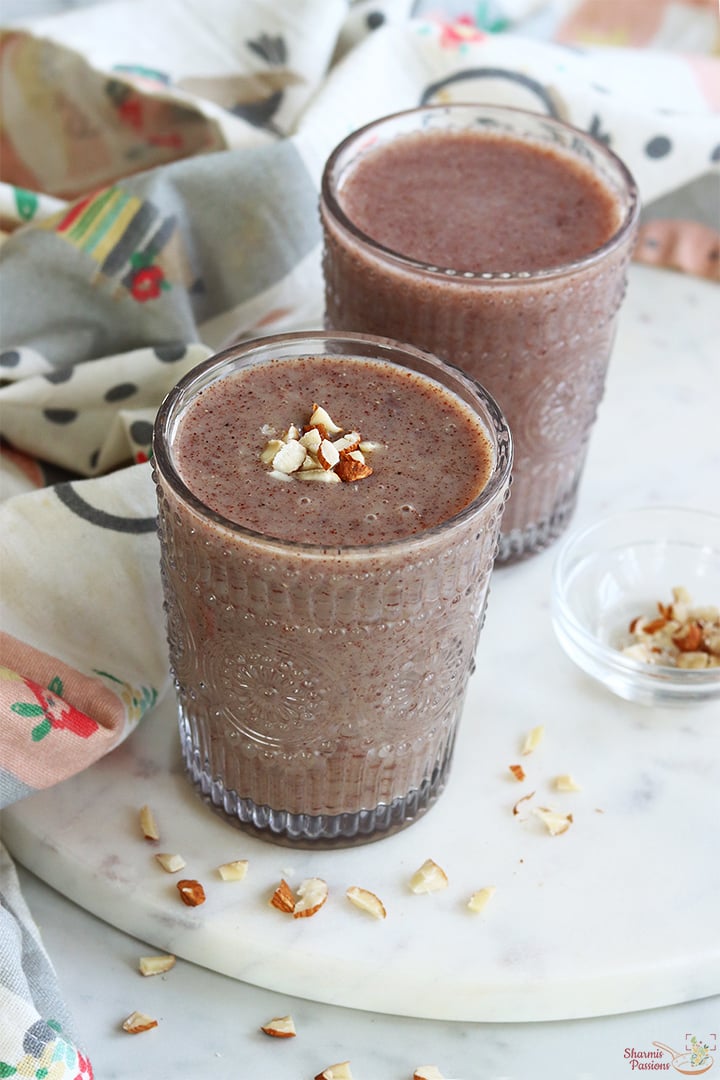
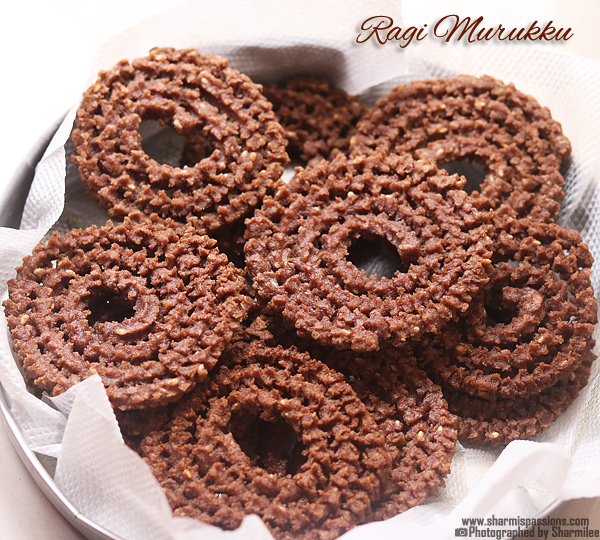
Homemade Ragi Flour is rich in calcium, iron, fiber, and amino acids, making it a great choice for babies, kids, and adults. It's commonly used to prepare ragi porridge, dosa, idiyappam, ladoo, malt, and rotis, offering a wholesome, gluten-free base for various dishes.
Ragi Powder Video
Homemade Ragi Powder Ingredients
- Finger millet - Ragi as it is popularly known in kanada. Choose the whole grain which is easily available in stores.
Ragi Flour - 2 Methods
Generally there are 2 methods for making finger millet flour at home :
- Method 1 - (Elaborate) - This is the method I have shared here which takes little longer but worth the time and effort. In this method to begin with we first pick out all the specks if any then rinse the millet well until the water is clear then soak for a day, drain water completely then sprout it for a day or so. Then we sundry until completely dry, then roast in a kadai and finally powder it.
- Method 2 - (Quick & Instant) - This method comes handy when you have no time for soaking or sprouting. Remove speck, rinse the millet well then drain water completely. Sun dry well finally roast and powder it.
Ragi Recipes


How to make Homemade Ragi Flour Step by Step
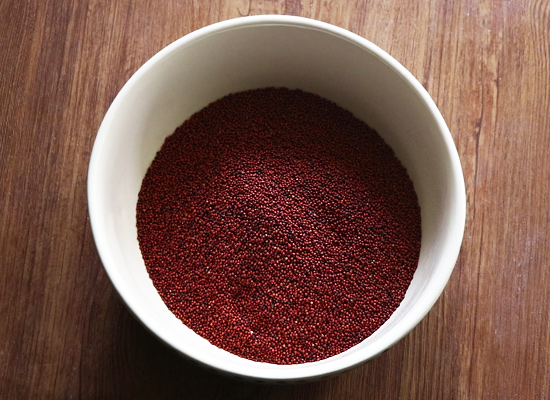
1.Take ½ kg finger millet in a bowl.
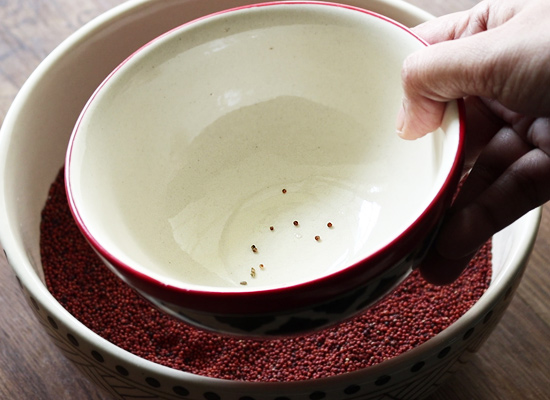
2.Pick out speck if any. You can even spread it on a plate and remove. Do in batches.
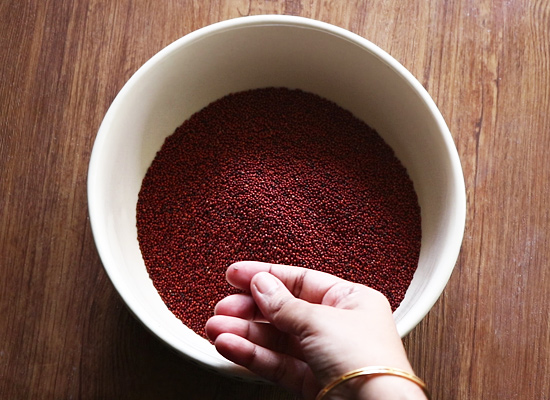
3.Discard the speck
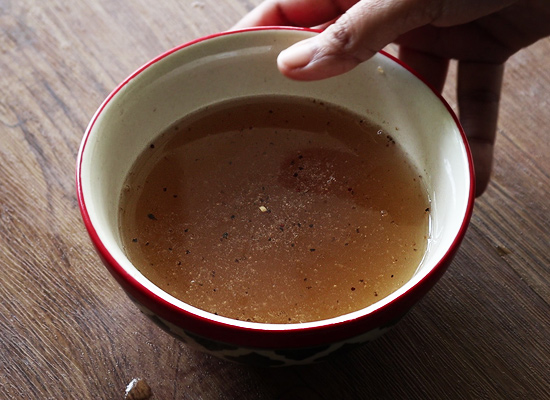
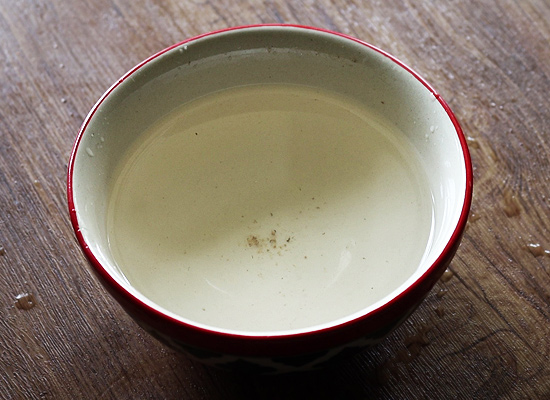
4.Add water rinse it well at least 2-3 times.
5.Drain water, discard it.
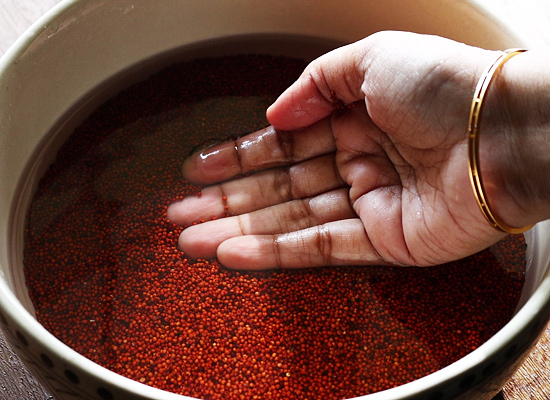
6.Rinse well, drain water until water is clear like this.
7.Drained water is clear.
8.When you see clear water while rinsing then you can stop rinsing.
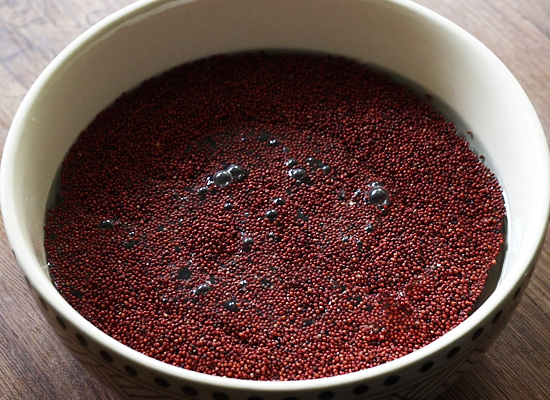
9.Now soak in water.

10.Keep covered for at least 8 hrs or even overnight.
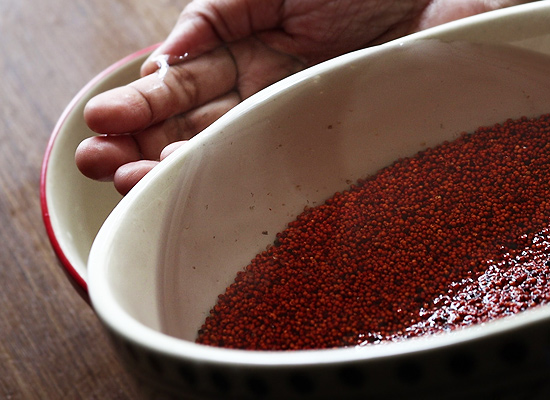
11.Rinse it one more time. Then drain water completely.
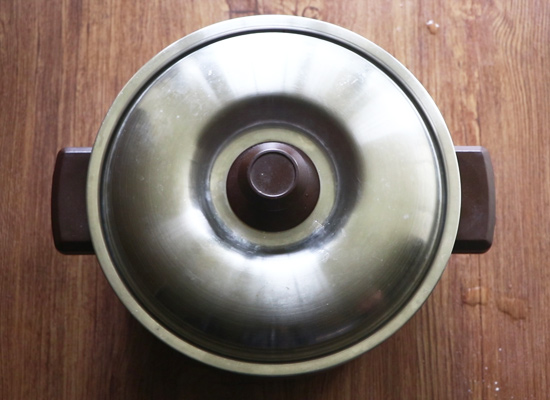
12.Add the millet to a hot box, spread it. You can even tie in a cloth, squeeze excess water and keep it in a colander. Hot box makes sprouting faster.
13.Close it tightly and set aside undisturbed for a day or at least for 10 hours. You can even keep it in muslin cloth for sprouting.
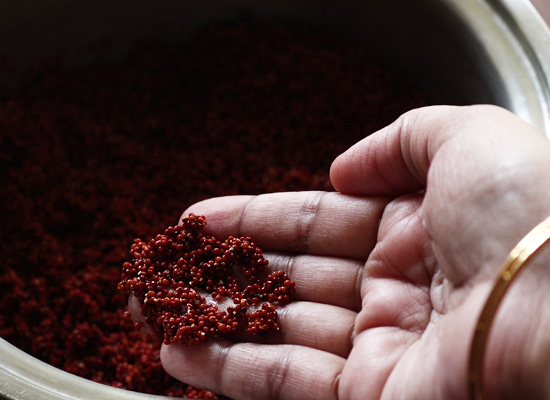
14.This is the tiny sprout I got after 10 hours. If you wish to get longer sprouts then you can rest for one more day but make sure the millet does not get spoiled.
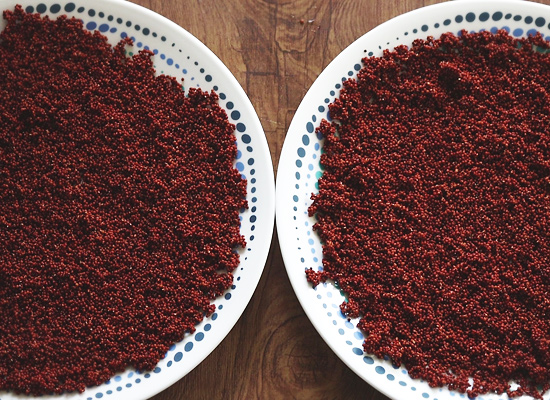
15.Spread it in a plate to a thin layer so that it gets dried easily. Sun dry for a day. Make it a thin layer otherwise it takes time to get dried. It will take just few hours if the climat is very hot and sun is scorching.
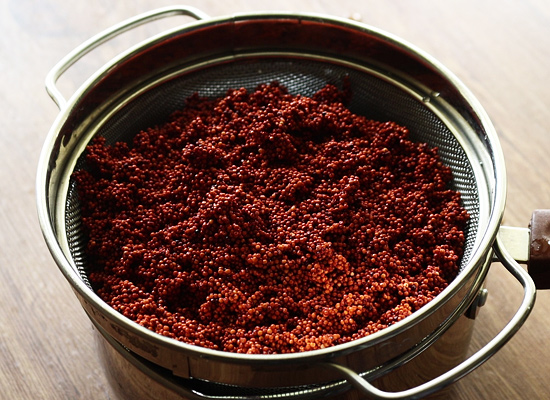
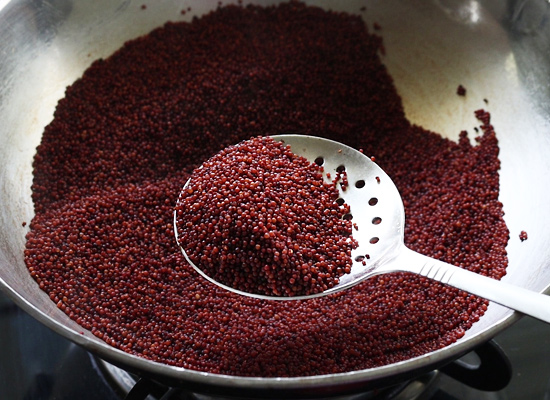
16.Add to kadai and dry roast for 5 minutes. I did it in 2 batches. You can skip this step and powder it finely after sun drying itself.
17.Spread it on a plate. Cool down completely.

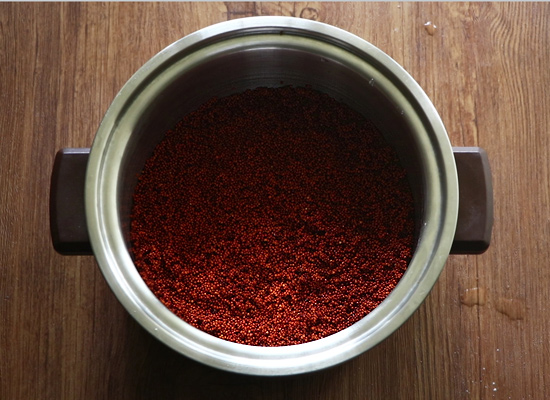
18.Finally grind it until fine. Do it in batches to avoid heating of mixie which will in turn create moisture. But if you wish you can sieve ragi flour if the flour is very coarse. I usually do not sieve.
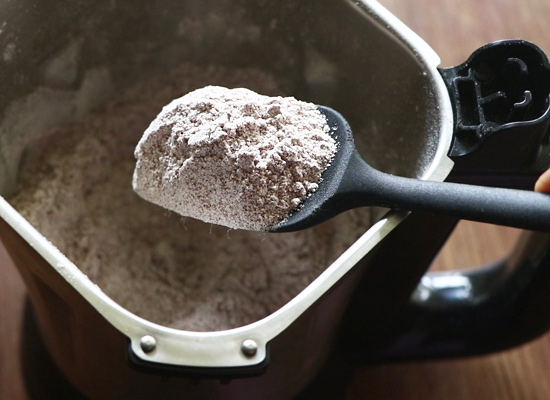
19.Spread it on a plate, then cool completely later store in a clean dry jar.
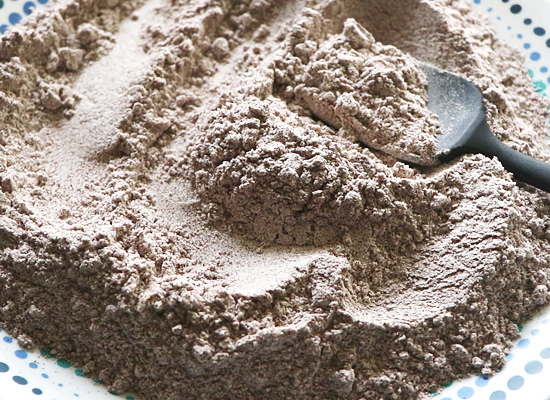
Homemade sprouted ragi flour is ready!
Expert Tips
- Cleaning - Always remove stones, husk, and dust from the ragi grains before washing.
- Washing - Rinse the grain 2-3 times in clean water to remove any dirt.
- Sprouting - Soak for 8 hours then rinse once again. Then drain water completely and add it to hot box for sprouting. I left it only for small sprouts, if you leave longer the sprouts will be longer.
- Drying - Sun dry well until no moisture is there.
- Roasting - Make sure to dry well before roasting and grinding. There should be no moisture while grinding else the ragi flour might get spoiled soon.
- Grinding - If it is a small batch you can grind it at home in mixer itself.
- Sieving - You can sieve ragi flour using a fine sieve. Then collect the coarse particles and again grind it along with next batch.
Storage
Homemade Ragi Powder keeps well in room temperature for about 3 months. You can extend shelf life by storing in fridge, in fridge it keeps well for about a year also.
FAQS
1.Why do we need to sprout ragi?
Sprouting doubles and increase the nutritional value. Also sprouted flour when made into a powder is easy digestible especially for babies and kids.
2.How much do we need to sprout ragi?
I just allow it to sprout just when it the white stem starts to peep out which is around 10 hours. You can sprout for a day too for longer sprouts.
3.Can I skip sprouting?
Yes you can skip sprouting part. Just rinse the millet drain well, sundry it then roast and grind it to a fine powder too.
4.What's the difference between regular and sprouted ragi flour?
- Sprouted ragi flour: Grains are soaked, germinated, dried, and then roasted and ground to a fine powder.
- Regular ragi flour- Made from cleaned, dried, and ground grains.
5.Should sprouted ragi be roasted before grinding?
Roasting is optional but recommended. It enhances the aroma, gives a nutty flavor, and helps prevent spoilage. For baby food, you can skip roasting to retain more nutrients.

If you have any more questions about this Ragi Flour Recipe do mail me at sharmispassions@gmail.com
In addition, follow me on Instagram, Facebook, Pinterest ,Youtube and Twitter .
Tried this Ragi Flour Recipe? Do let me know how you liked it. Also tag us on Instagram @sharmispassions and hash tag it on #sharmispassions.
📖 Recipe Card
Ragi Powder | Ragi Flour | Ragi Recipes
Ingredients
- ½ kg fingermillet
Instructions
- Take ½ kg finger millet in a bowl.
- Pick out speck if any. You can even spread it on a plate and remove. Do in batches.
- Discard the speck.
- Add water rinse it well.
- Drain water, discard it. Rinse well, drain water until water is clear.
- When you see clear water while rinsing then you can stop rinsing.
- Now soak in water.
- Keep covered for atleast 8 hrs or even overnight.
- Rinse it one more time. Then drain water completely.
- Add the millet to a hot box, spread it. You can even tie in a cloth, squeeze excess water and keep it in a colander. Hot box makes sprouting faster.
- Close it tightly and set aside undisturbed for a day or atleast for 10 hours.
- This is the tiny sprout I got after 10 hours. If you wish to get longer sprouts then you can rest for one more day but make sure the millet does not get spoiled.
- Spread it in a plate to a thin layer so that it gets dried easily. Sun dry for a day or two. Make it a thin layer otherwise it takes time to get dried.
- Add to kadai and dry roast for 3-5 mins. I did it in 2 batches.
- Spread it on a plate. Cool down completely.
- Finally powder it until fine.Do it in batches to avoid heating of mixie which will in turn create moisture. I wouldn't recommend sieving. But if you wish you can sieve it if the flour is very coarse.
- Spread it on a plate, cool completely then store in a clean dry jar.
- Homemade ragi flour ready!
Video
Notes
- Cleaning - Always remove stones, husk, and dust from the ragi grains before washing.
- Washing - Rinse the grain 2-3 times in clean water to remove any dirt.
- Sprouting - Soak for 8 hours then rinse once again. Then drain water completely and add it to hot box for sprouting. I left it only for small sprouts, if you leave longer the sprouts will be longer.
- Drying - Sun dry well until no moisture is there.
- Roasting - Make sure to dry well before roasting and grinding. There should be no moisture while grinding else the ragi flour might get spoiled soon.
- Grinding - If it is a small batch you can grind it at home in mixer itself.
- Sieving - You can sieve ragi flour using a fine sieve. Then collect the coarse particles and again grind it along with next batch.
Nidhi
1 cup of rahi gives how much of flour
Sharmilee J
Around 1 cup or little more ragi flour