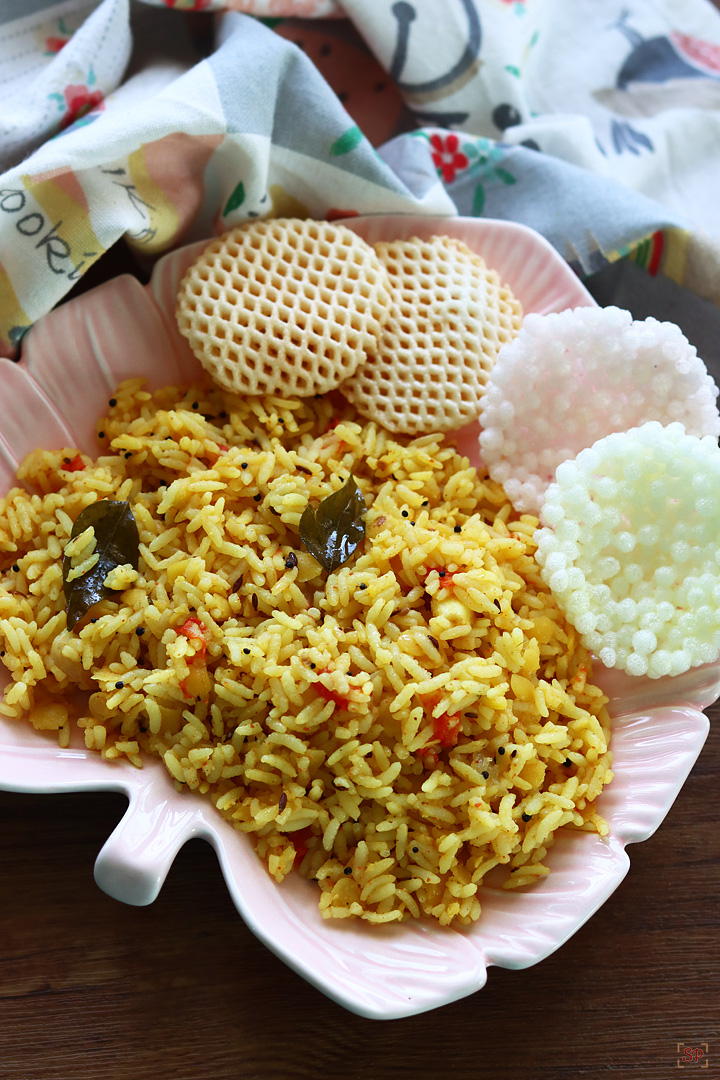
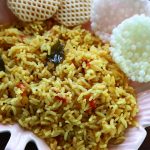
Arisi Paruppu Sadam is a specialty of Kongu cuisine, a comfort food made with rice & dal cooked with tempered spices. Arisi Paruppu Sadam is filling, tasty and relished with a sabzi or papad. Learn to make Arisi Paruppu Sadam the authentic way with step by step pictures and video.
Arisi Paruppu Sadam is one of the popular kongu special recipes in Coimbatore. This is very quick to make one pot fix for lunch. Also called as dal rice it is one of the simple comforting food that you can give it for babies and kids too.
Jump to:
What is Arisi Paruppu Sadam?
'Arisi' means uncooked rice, 'Paruppu' means dal / lentils and Sadam is cooked rice so Arisi Paruppu Sadam means 'Rice and Lentil Rice'. It is one of the humble dish that we Coimbatorian's celebrate and relish.
Arisi Paruppu Sadam is a traditional South Indian one pot dish, popular in Tamil Nadu, India. Arisi Paruppu Sadam is a quick and nutritious one pot meal relished by all. This is made using rice, lentils with a simple tempering.
This one pot meal is my go to whenever I am lazy to cook or in a hurry or want a comfort food after our travel. This is quick and easy to make comes together in just 20 minutes.
Arisi Paruppu Sadam popularly known as 'kavundar biryani' as mentioned by actor Sivakumar in his book named 'Rajapattai'. This is a very famous one pot dish especially in the community called kavundar who form the major population in Coimbatore those days.
I have never wanted to stay away from Coimbatore and the 7 years I lived in Chennai I still had my heart in Coimbatore. I am so passionate about this city be it the people or the water or the climate or whatever I don't know but like everything about this city very much.
Though I was brought up in Coimbatore since my childhood this arisi paruppu sadam was new to me until I tasted it during my college days. My best friend Sowmya used to bring it during our college days and I used to happily finish up half of her lunch during interval itself lending herself my tiffin box. I love paruppu sadam and this one obviously is my favorite too.
Similar Recipes
Arisi Paruppu Sadam Video
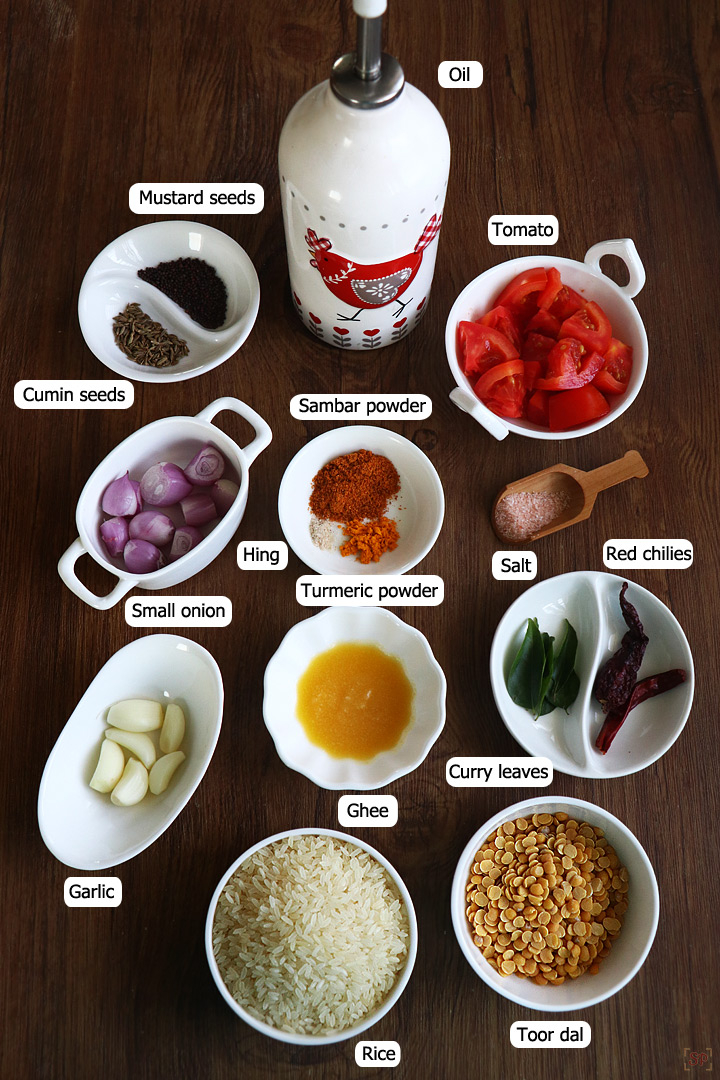
Arisi Paruppu Sadam Ingredients
- Rice : Rice is the main ingredient here. You can use any cooking rice like parboiled rice, ponni, sona masoori but not basmati rice or seeraga samba rice. Any rice that is not aromatic or flavorful can be used here.
- Dal : Toor dal is used for Arisi Paruppu Sadam and there is no alternate for it as the taste varies.
- Tempering : A tadka is made using mustard, cumin seeds, red chilies and small onion.
- Spice powders : Turmeric powder and sambar powder is used here.
How to make Arisi Paruppu Sadam Step by Step
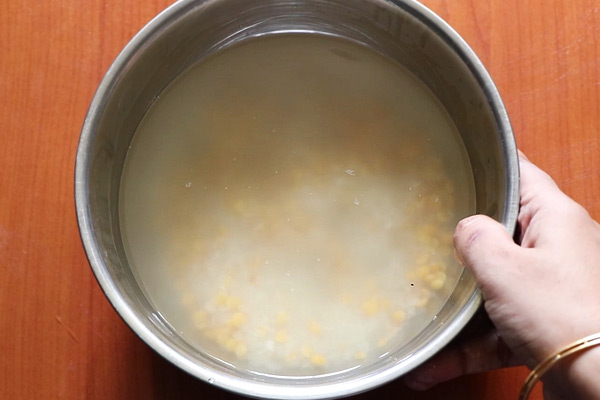
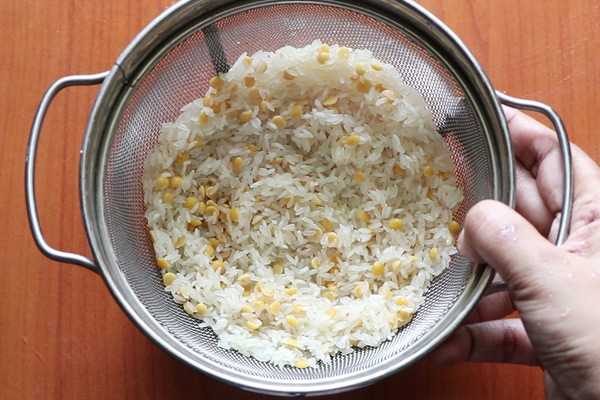
1.Rinse 1 cup rice, ¼ cup dal well then soak it for 15-30 minutes.
2.Rinse well drain water and set aside.
3.Heat 2 tablespoon oil in a pressure cooker, add
- 1 teaspoon mustard seeds
- ½ teaspoon cumin seeds
- 2 small red chillies
- few curry leaves
- a pinch hing
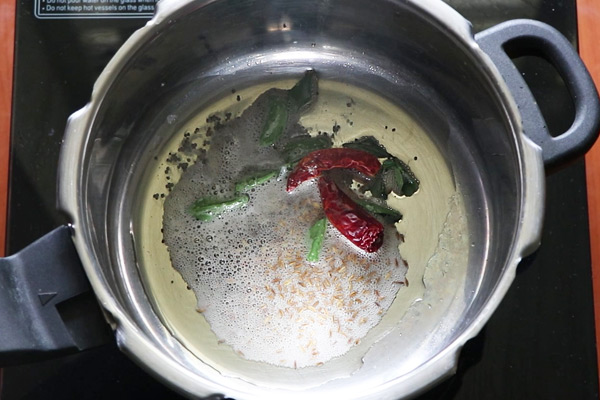
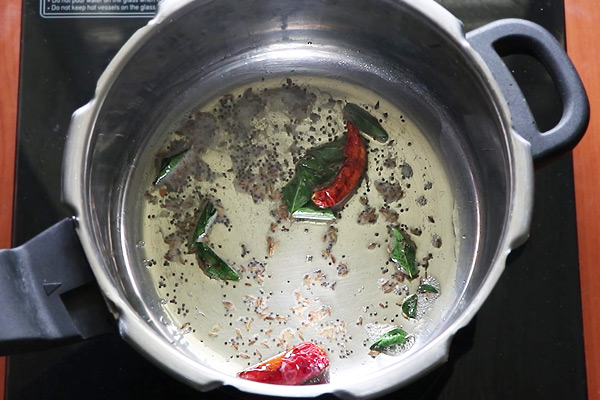
4.Give a quick saute.
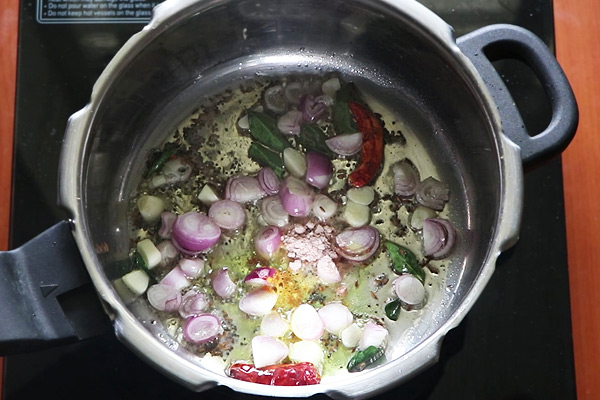
5.Add 10 small onions, 5 garlic cloves, ¼ teaspoon turmeric powder, required salt.
6.Saute till onion turns transparent then add 2 tomatoes and saute until raw smell leaves and tomatoes turn mushy. Add 1 teaspoon sambar powder.
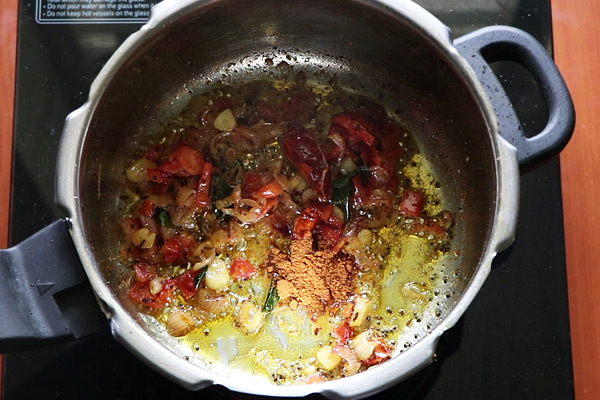
7.Give a quick mix.
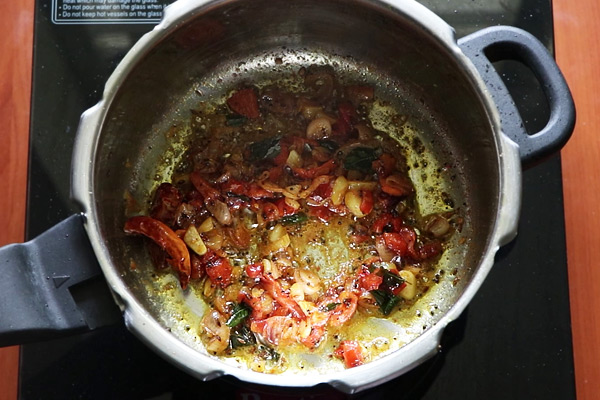
8.Add drained rice, dal.

9.Give a quick mix.

10.Add 3 cups water. Scrap the sides and mix well.

11.Close with lid, put the pressure weight on. Pressure cook in medium flame for 3 whistles.
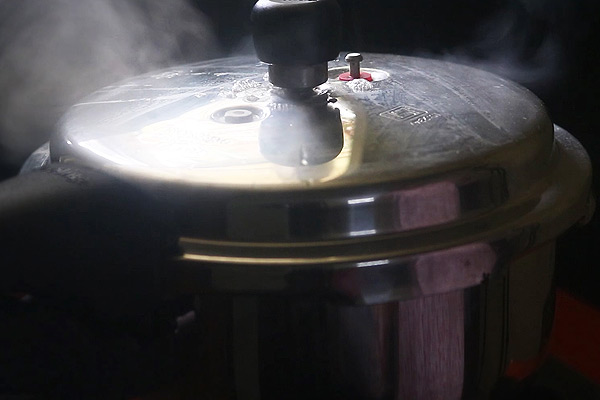
12. Switch off, once pressure releases open.
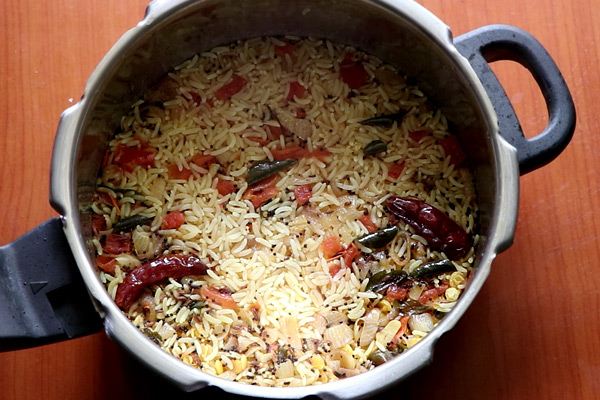
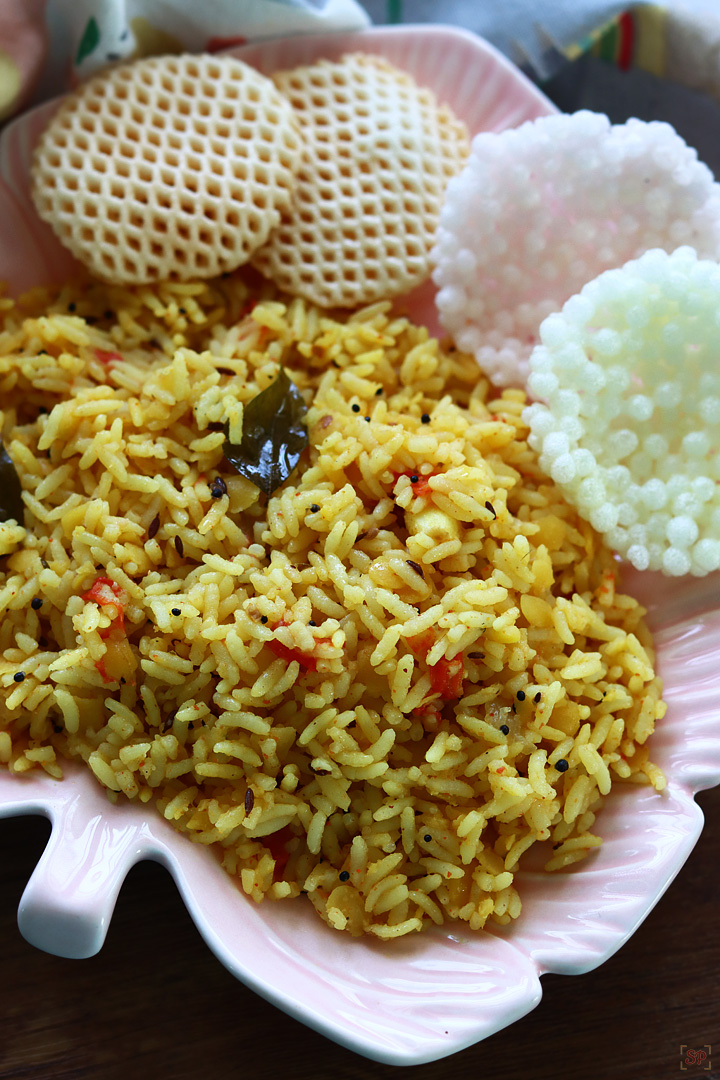
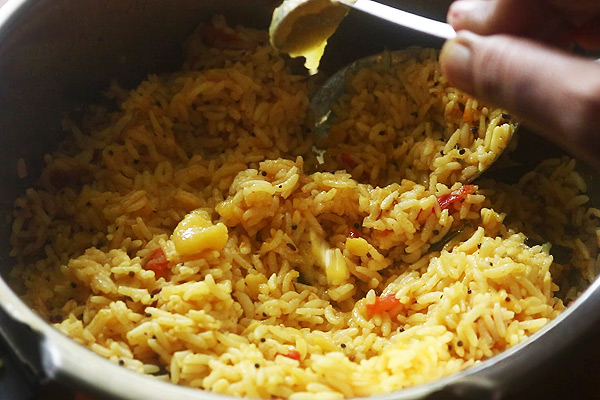
13.Give a quick mix, it should be slightly mushy and moist. After cooling it becomes grains separated.
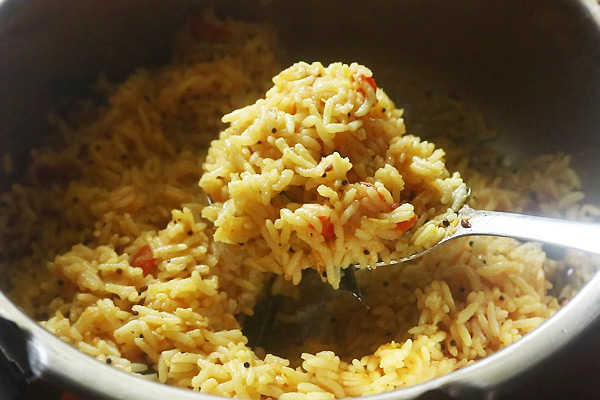
14.Add 1 teaspoon ghee and mix it. You can add extra ghee while serving.
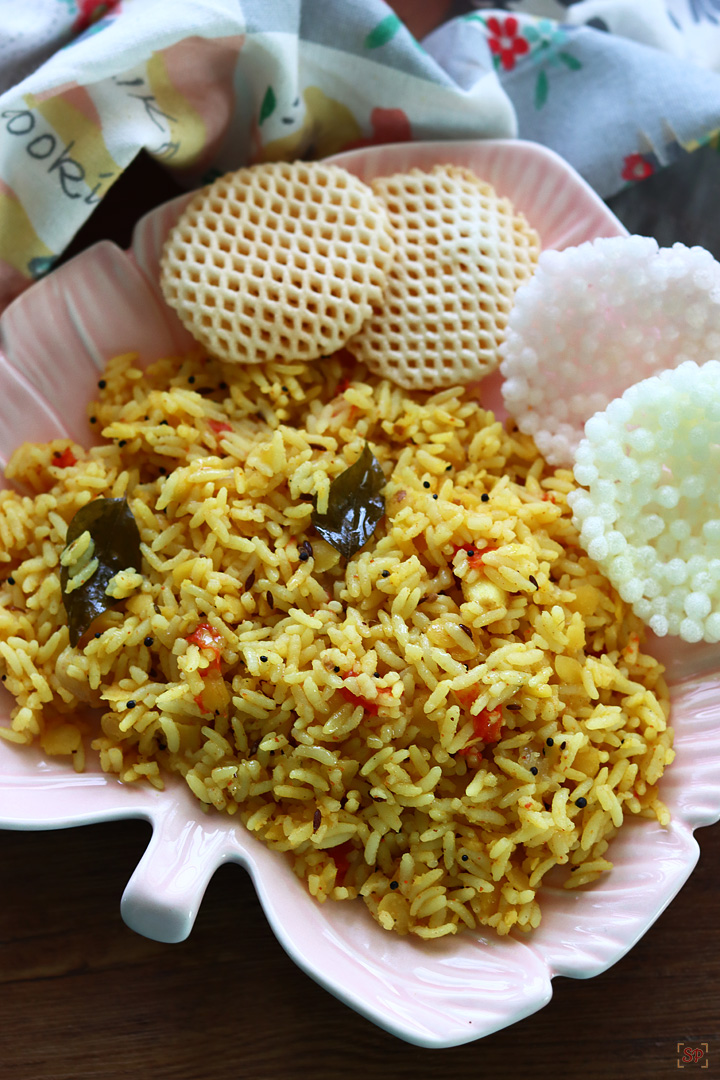
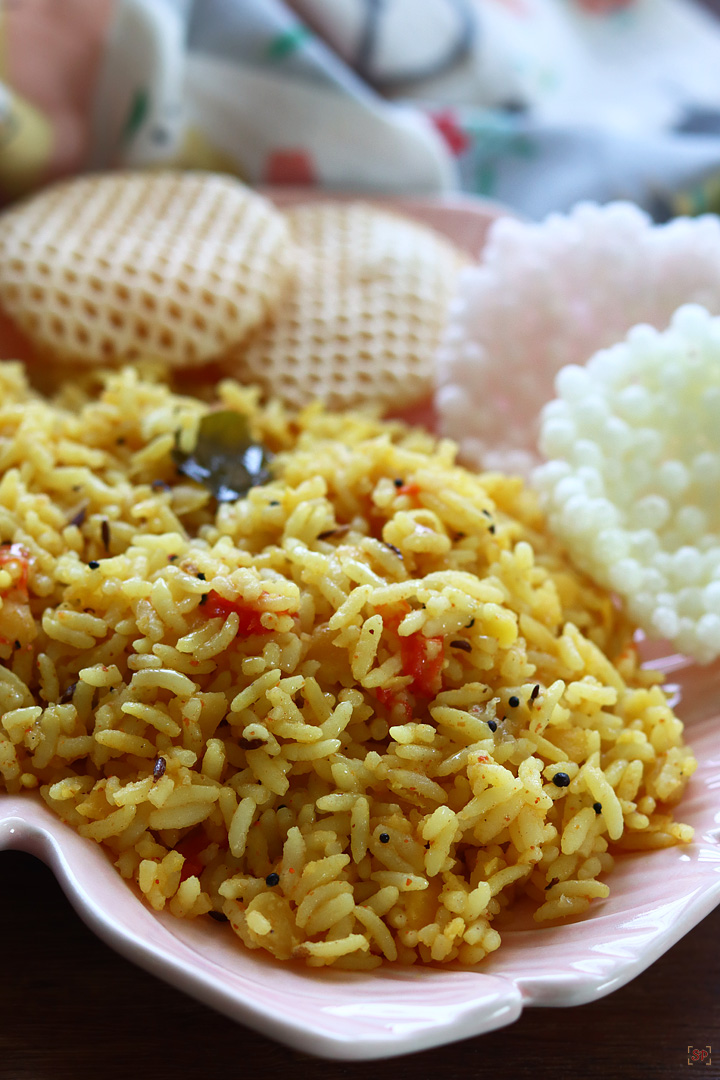
Hot Arisi Paruppu Sadam is ready!
Expert Tips
- Soaking rice and dal helps in cooking them soft and faster.
- You can serve it with any vadams or any poriyal/varuval you prefer. I love it with plain curd and vadam.
- Arisi Paruppu Sadam should be slightly moist and mushy not too dry.
- It is recommended to serve it hot as the rice will become dry soon. Add ghee while serving.
- If you don't have sambar powder then add ½ teaspoon red chili powder and ½ teaspoon coriander powder.
- Give at least 5-10 minutes resting time before serving.
- Do not cook in high flame.
- Make sure to cook in medium flame and add required amount of water to avoid burning at the bottom.
- If you are looking for vegan option skip ghee and add oil itself.
Serving & Storage
Rice and dal rice is served plain or with papad or curd. Arisi Paruppu Sadam keeps good for around 8 hours in room temperature and in fridge for 1 day. You can reheat while serving if in fridge.
FAQS
1.What type of rice should be used for Arisi Paruppu Sadam?
Traditionally arisi paruppu sadam is prepared using parboiled rice / ponni rice. But you can use sona masoori replacing it.
2.Can I use a mix of dals?
No toor dal should only be used. For a variation you can add 2 tablespoon moong dal along with toor dal but make sure to adjust water accordingly but the taste will vary a bit.
If you have any more questions about this Arisi Paruppu Sadam Recipe do mail me at sharmispassions@gmail.com. In addition, follow me on Instagram, Facebook, Pinterest ,Youtube and Twitter .
Tried this Arisi Paruppu Sadam Recipe ? Do let me know how you liked it. Also tag us on Instagram @sharmispassions and hash tag it on #sharmispassions.
📖 Recipe Card
Arisi Paruppu Sadam Recipe
Ingredients
- 1 cup rice
- ¼ cup toor dal
- 10 nos small onion roughly chopped
- 2 nos tomato finely chopped
- 5 nos garlic halved
- ¼ teaspoon turmeric powder
- 1 teaspoon sambar powder
- 1 teaspoon ghee + extra for serving
- salt to taste
- 3 cups water
To Temper:
- 2 tablespoon oil
- 1 teaspoon mustard seeds
- ½ teaspoon cumin seeds
- 2 small red chillies
- few curry leaves
- a pinch hing
Instructions
- Rinse 1 cup rice, ¼ cup dal well then soak it for 15-30 minutes.
- Rinse well drain water and set aside.
- Heat 2 tablespoon oil in a pressure cooker, add 1 teaspoon mustard seeds, ½ teaspoon cumin seeds, 2 small red chillies, few curry leaves, a pinch hing
- Give a quick saute.
- Add 10 small onions, 5 garlic cloves, ¼ teaspoon turmeric powder, required salt.
- Saute till onion turns transparent then add 2 tomatoes and saute until raw smell leaves and tomatoes turn mushy. Add 1 teaspoon sambar powder.
- Give a quick mix.
- Add drained rice, dal.
- Give a quick mix.
- Add 3 cups water. Scrap the sides and mix well.
- Close with lid, put the pressure weight on. Pressure cook in medium flame for 3 whistles.
- Switch off , once pressure releases open.
- Give a quick mix, it should be slightly mushy and moist. After cooling it becomes grains separated.
- Add 1 teaspoon ghee and mix it. You can add extra ghee while serving.
- Hot Arisi Paruppu Sadam is ready!
Video
Notes
- Soaking rice and dal helps in cooking them soft and faster.
- You can serve it with any vadams or any poriyal/varuval you prefer. I love it with plain curd and vadam.
- Arisi Paruppu Sadam should be slightly moist and mushy not too dry.
- It is recommended to serve it hot as the rice will become dry soon. Add ghee while serving.
- If you don't have sambar powder then add ½ teaspoon red chili powder and ½ teaspoon coriander powder.
- Give at least 5-10 minutes resting time before serving.
- Do not cook in high flame.
- Make sure to cook in medium flame and add required amount of water to avoid burning at the bottom.
- If you are looking for vegan option skip ghee and add oil itself.

Radhika
it has been around for decades I must say. Made me feel nostalgic when My grandma used to prepare this for us kids.
Nithya
This recipe looks like a better option than simply adding cooked dhall to rice. I have always loved paruppu sadam and guess would love this too 🙂
Vimitha Anand
Easy to make and all time favie..
Prathibha
Looks really yummy....we make soemthing similar 2 chana dal......nice one pot meal..
Kalpana Sareesh
This dish reminds me good old days at moms place she prepares this n am a big fan..love urs..
RAKS KITCHEN
I have made this once before marriage,I remember from MB cookbook,unlike urs,I mashed up the rice 😛
Cham
I love this rice and an easy one pot meal!
Shama Nagarajan
delicious comfort rice
anubhavati
This one is new to me...Imagine almost the same ingredients as Sambar Sadam without the sambar!!!
Looks nice and hearty.
Shobha
kaarasaaram.com
"kongu Special"... namma ooru saadham... kalakkal sharmi...
Reva
My attempt at The Julie/Julia project
Beautiful clicks and mouthwatering rice 🙂
Cilantro
Looks delicious Sharmi! I have my version on my blog and I am glad to have got the recipe from my friend too. It is a good alternative to the usual biriyani or fried rice on weekends.
The Foodie
Looks so good with beautiful clicks... definitely a kid friendly recipe.
Paaka Shaale
That's such a simple and elegant rice. It's a great recipe for days when I'm feeling to lazy to cook 😉
Priya
This dish makes me nostalgic, never fails to make this delicious rice often..
Sasmita
What a lovely blog Sharmily! So many delicious veg recipes....fill my hungry-eyes
We make this dal-rice dish whenever we come home from travel & want some homemade food but tired to invest time 🙂
following you . xoxo
Chitra
Very nice. sounds easy too.. Waiting for vada pav recipe. i too have one but i dint post becoz of my horrible clicks 😉
Happy Cook
Delicious looking rice.
Plateful
Just had lunch but this recipe, esp the pics, is making me crave for the paripu sadam..!
M D
This is healthy and definitely delicious. I see it as an alternate to my favorite khichdi!
Ramya
Perfect one pot meal...simple n yummy:-)
Kanchan
Quite a different version of Khichdi ..
divya
ohhh...droooooling here...perfect n tempting..
jeyashrisuresh
very yummy and nice one.i make a similar one with split green moong dal.clciks are nice,esp the second one with raw rice and toordal in spoon
Laavanya
I don't remember tasting this but am sure I'll like this.. must try sometime.
Swathi
Arisium parippum sadam roumba super.
Sapthanaa Balachander (Alias) Abilashini
looks too good and simple!!
Suja Sugathan
Healthy and mouthwatering rice, super yum.
Gulmohar
Superb..Loved the second click a lot 🙂
Leena
Love the presentation...nice prep..
swapna
Simple yet delicious rice....looks sooo good!!
Priya (Yallapantula) Mitharwal
What a tempting pic dear 🙂
hemalata
Looks delicious and yummy
Nikki
now i saw ur fotography write ups,,amzing,,which camera do you use?
An Open Book
perfect bowl sharmilee
Sharmilee! :)
@Nikki: Thanks a lot for ur lovely words...Previously I used Olympus point and shoot camera now recently got a DSLR Nikon D3100 so my recent clicks are with it...:)
Sure will find some time and write more on food photography...
Angie's Recipes
The rice looks simple yet very delicious.
Pavithra
I too make this rice but little different.. my fav one as well..looks absolutely yummy 😉
Shama Nagarajan
too good..tempting
indianspicemagic
I saw this recipe in suvai thedi last week.It is very comforting food.
Kairali sisters
I was planning on making this today and here you go Sharmi..Looks delicious 🙂
priya ravi
thank u so much sharmi for this recipe... I have been looking for this recipe for quite a long time.. looks so nice.. eagerly waiting to try..
Sumi
very nice recipe..
Anonymous
Very tasty Lunch.. Best side dish fro this is Potato Fry or Egg podimas
Anonymous
Hey sharmi.....i made dal rice for lunch....yum yum..thanx alot...
Ramyavenkatesh
Kuwait
Saranya Karthikeyan
I am new to cooking and i tried this yesterday and it comes out very well.. thank you..
Krithika Rajagopalan
Hi Sharmi,
I made this last night and it came out so well :).
Thanks for motivating me to cook.
Sri Leka
Can it be nice in lunch box... i ask this b'cos u said to serve hot
SHARMILEE J
It will become little dry if you pack it....but have seen my friends packing it for lunchbox...so you can give a try 🙂
Sri Leka
I will try... 🙂 Thanks for the reply
Meenu Krish
I tried this recipe today.. Came out really well.. Thank you Sharmi.
bharathi senthilmurugan
Nice recipe
Ram Prasanth Jahadhishan
Sharmilee.... This is one of my favourite food right from my childhood. I am from Erode.... Felt so happy when i saw your post on Arisiyum Paruppum... 🙂
One small suggestion... Instead of the chopped garlics, my mom used to smash the garlic with fennels (Sombu) and saute it along with onions and rest of your ingredients which will blend even with the rice and gives out a nice aroma when you open the lid 🙂 Try this... 🙂
TGopu
Hi Sharmi, beautiful recipe. This my mom's and my fav recipe. My mom used to add coconut oil instead of ghee just after opening the cooker. It gives a wonderful flavour too. Let me know if you try and like it. We usually have it with brinjal poriyal. 🙂
Vishal E
Tried it today.Came out well.Thanks a lot.
Vishal E
Tried it today.Came out well.Thanks a lot.My amma used to do it without tomato and garlic.Instead she will add pepper and asafoetida (not sure).But tomato and garlic gave an altogether different taste.
pradeep
wow sampar
Sangeetha Ganeshbabu
U seem to have all the recipes I search for. Going to try it out. Thx
Om Shivaya
I am a beginner, I tried this recipe . But it was a flop 🙁
I added 3 cups of water as mentioned by you but it was overcooked. It became like a paste(kind of dough)
Please help me to rectify this. Advise me the right quantity of water.
SHARMILEE J
I usually use 3 cups of water for rice...it depends on the variety of rice....and your cooker too
Sakthi
Hi Sharmi,
I tried this recipe and it came out very well.
Thanks allot...
kanna kannu
Its difficult to get toor dal here in Finland. So can we use the moong dal or chana dal. Will that be good or we should use the toor dal only.
SHARMILEE J
No the taste will vary so I recommend adding only toor dal
Krishna Kumari
Thank u