

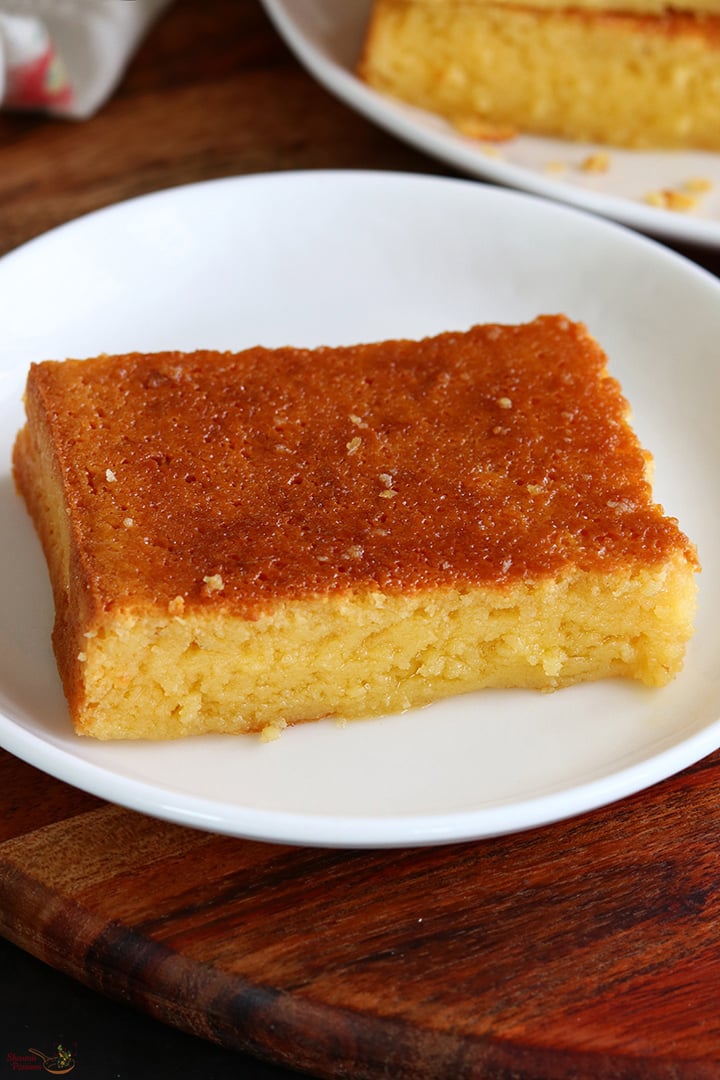
Muttai Mittai as it is popularly known is egg sweet made using few ingredients which includes milk, sugar, ghee and eggs. It originated from a sweet shop named Syed Sweets in Villupuram district. Muttai Mittai suddenly gained attention worldwide after it became viral in social media. Here I have shared the authentic muttai mittai recipe, do try and enjoy at home.
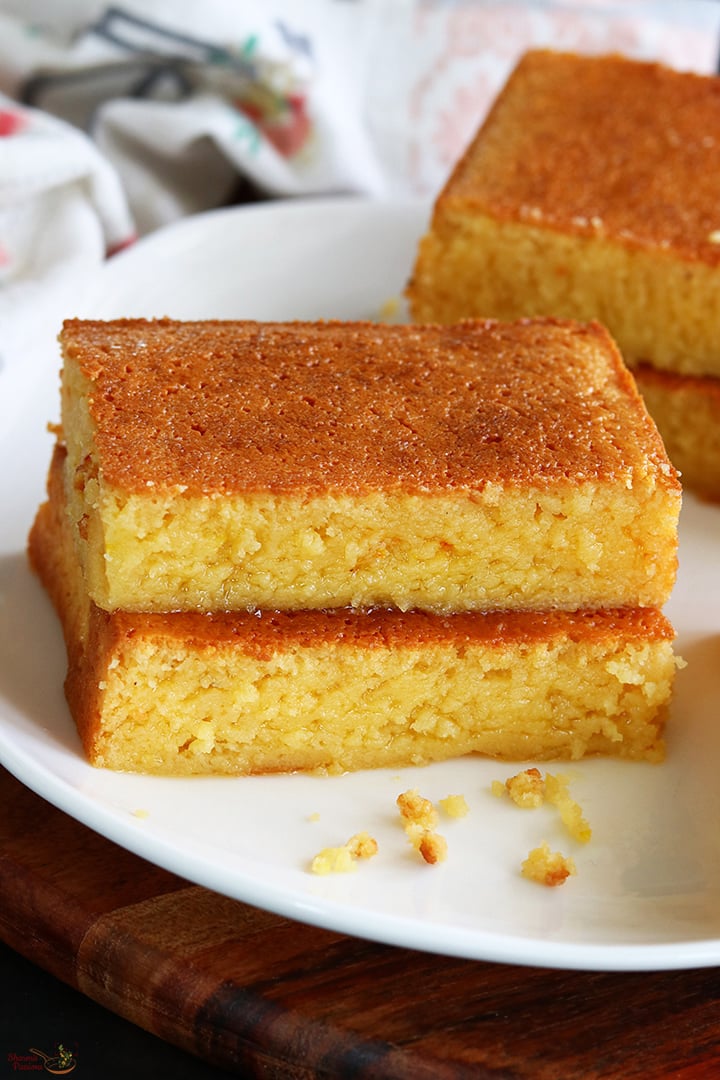
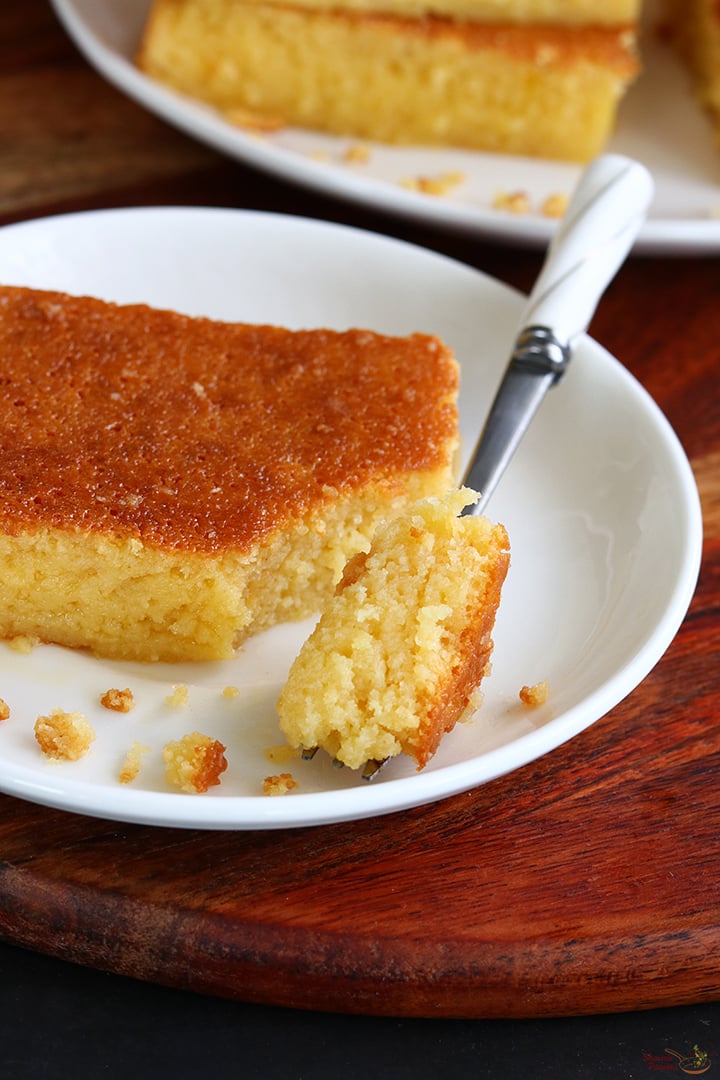
Traditionally this sweet is prepared for weddings, special occasions and festivals. It became very popular as it was virally circulated in social media and loved by many food lovers. Do try this muttai mittai and enjoy!
Jump to:
About Mutta Mittai
'Muttai' in tamil means Egg and 'Mittai' means candy so Muttai Mittai translates to Egg Sweet or Egg Candy. Muttai Mittai is famous in Senji (Gingee) and Appampattu in Villupuram district of Tamil Nadu. Traditionally, the sweet was made at home and sold within the local community.
Syed Sweets a sweet shop based in Appampattu first introduced this sweet. This sweet is known for its richness, soft and slightly chewy texture. As the name, this sweet's traditional preparation is particularly associated with egg and sugar as main ingredients.
When I saw this sweet in Instagram and my friend wowing about the taste of this sweet I was too tempted and bought it from a local shop. But the essence flavour was too dominating that I didn't like it at all. Later found that the one I tasted was not authentic hence did not have the perfect taste.
Fast forward few months again I started to crave for this sweet, so thought to try it myself. So I checked youtube video of the sweet shop making this sweet and tried it. I made homemade khoya and tried, oh my god it tasted so delicious. All of us at home loved it so much that it got over in no time.
Saffron and cardamom powder hides the egg flavour so even those who don't like eggs will like this sweet and my daughter is a proof for it. The recipe does not use any flour so it is a gluten free sweet.
Similar Recipes
Muttai Mittai Ingredients
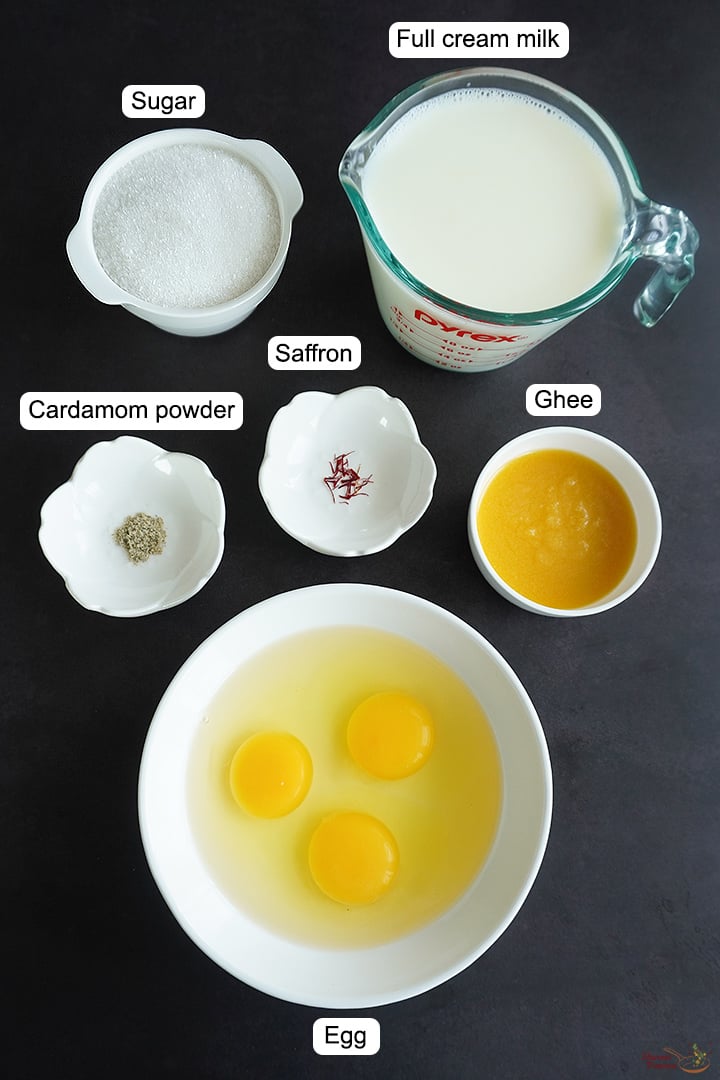
- Milk - Use full cream milk to make khoya. Each variety of milk yields khoya measure differently so it is best to measure khoya in grams and use it for the recipe.
- Eggs - Use eggs in room temperature. I would suggest to use white eggs for this sweet. Country eggs flavour may be too dominant.
- Sugar - White granulated sugar is used for this recipe.
- Flavouring - Saffron and cardamom powder is used as flavouring for this sweet.
- Ghee - Ghee adds richness and gives more moist texture to this sweet.
How to make Muttai Mittai Recipe Step by Step
Homemade Khoya Preparation
1.Take a heavy bottomed kadai, add 1 ½ liters full cream milk. Let it boil. Keep mixing and scraping the sides.
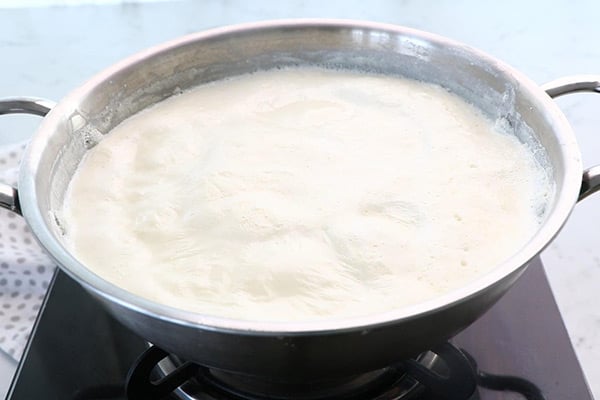
2.Simmer and let it thicken.
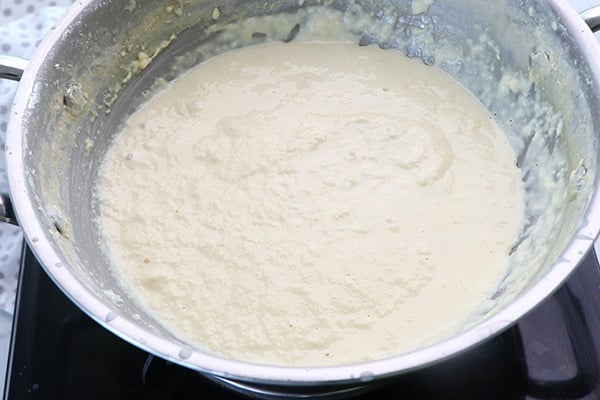
3.It took me almost 1 ½ hours for making khoya. I made khoya the previous day and made mutti mittai the next day. You can even use store bought readymade unsweetened khoya.
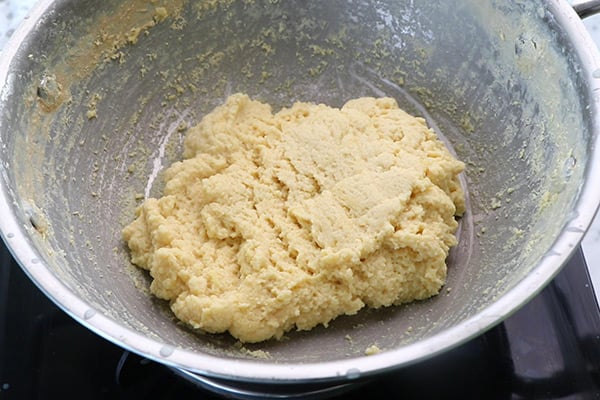
Preparing saffron milk and cake tin
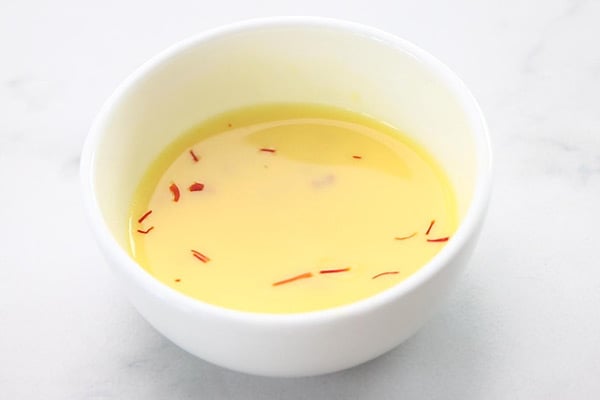
4.Soak a tiny pinch saffron in 1 tablespoon warm milk, Set aside.
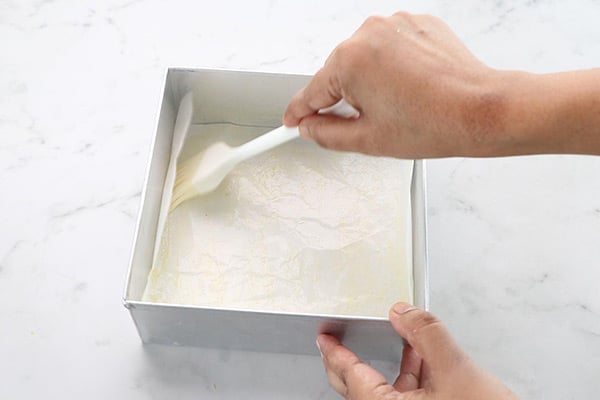
5.Lay parchment paper inside a 6X6 inches cake tin. Brush with ghee on all sides.
Cooking khoya with sugar
6.To a kadai add 200 grams khoya, 125 grams sugar, ⅛ teaspoon cardamom powder and soaked saffron milk.
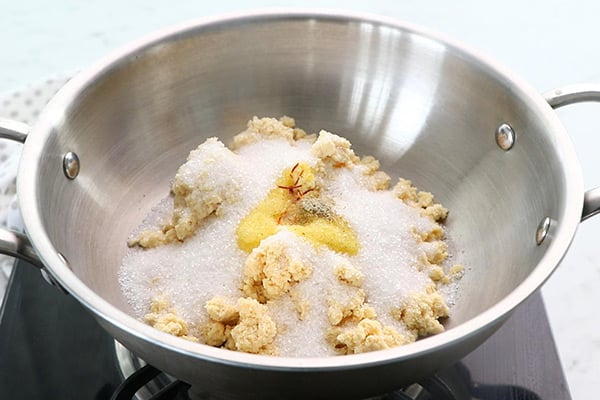
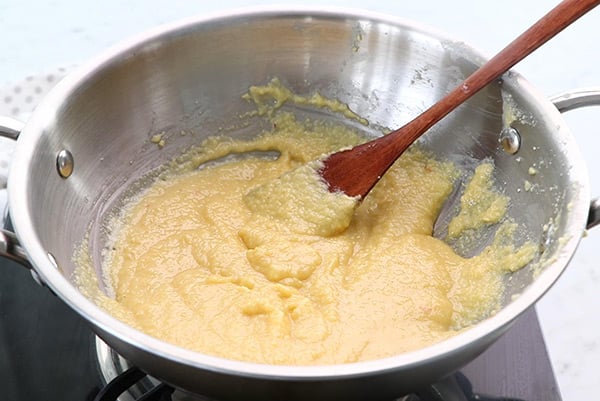
7.Heat it up and start cooking in low flame. Cook until sugar dissolves completely and it becomes goey like this. Switch off and cool down for 5-7 minutes.
Mixing with eggs, ghee
8.Now transfer the mixture to a mixing bowl. When it is still warm, add 3 eggs one at a time and whisk it well.
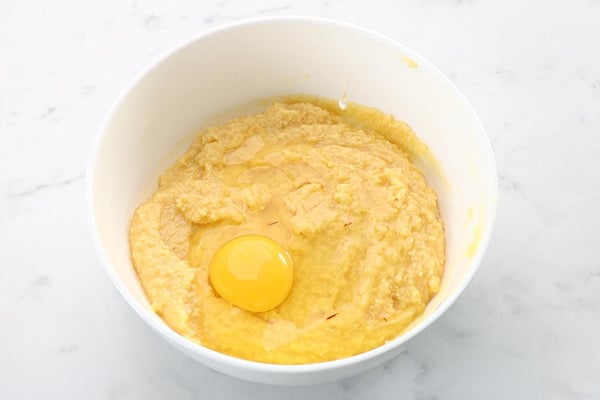
9.Make sure to have the mixture warm while you add eggs. At the same time it should not be very hot.
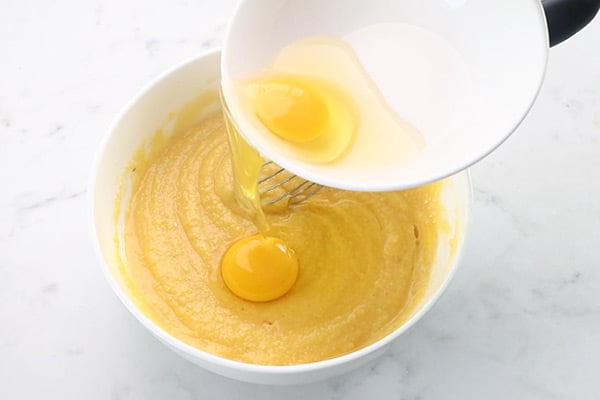
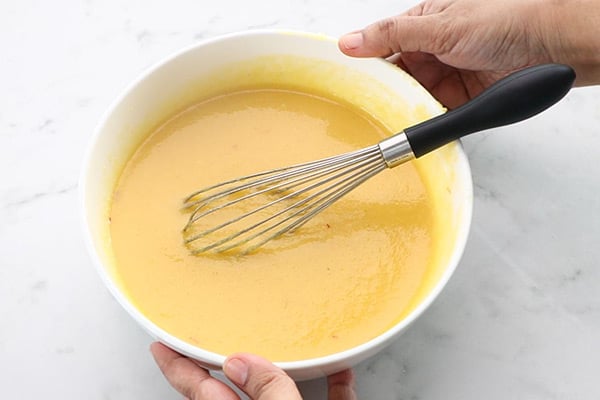
10.After all the 3 eggs are added, whisk it well to make it lump free. Finally add 3 tablespoon (around 40 grams) ghee. Preheat oven at 150 deg C for 10 minutes.
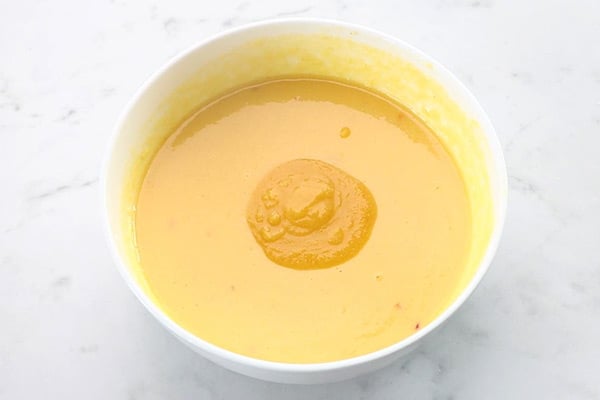
11.Whisk it well and set aside.
Baking muttai mittai
12.Transfer the batter to the cake tin.
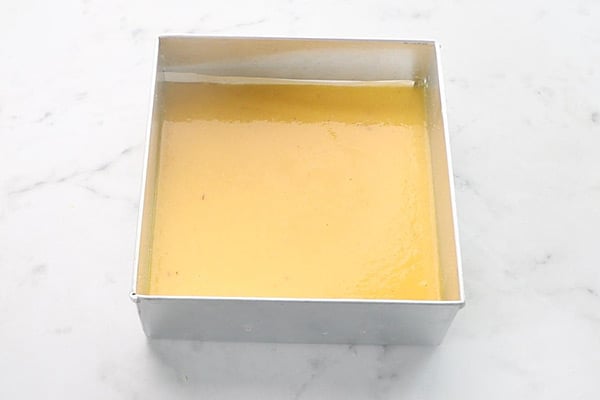
13.Bake in preheated oven at 150 DEG for 30-35 minutes.
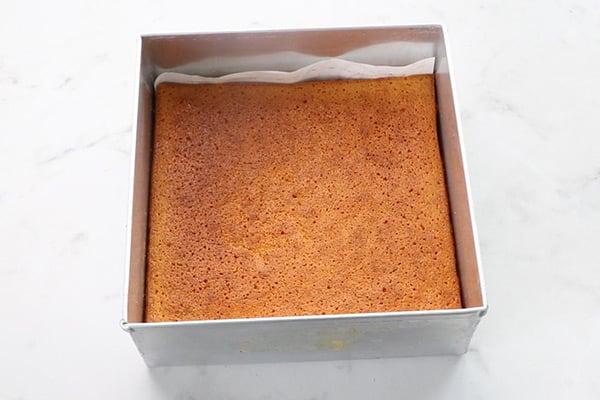
14.Cool down for a while then remove from cake tin.
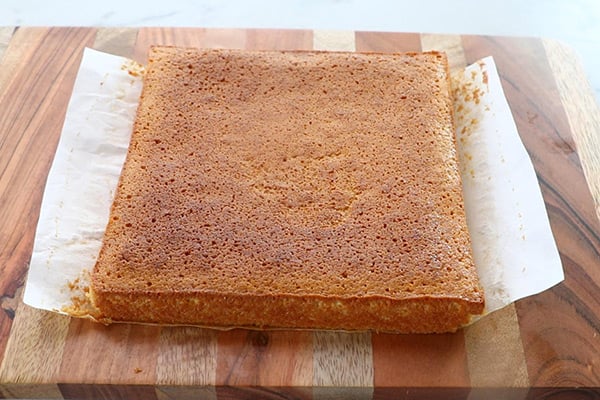
15.Cool down completely then cut into pieces.
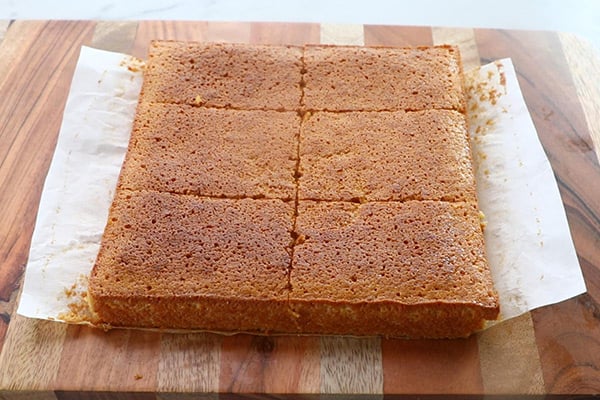
16.Muttai Mittai is ready!
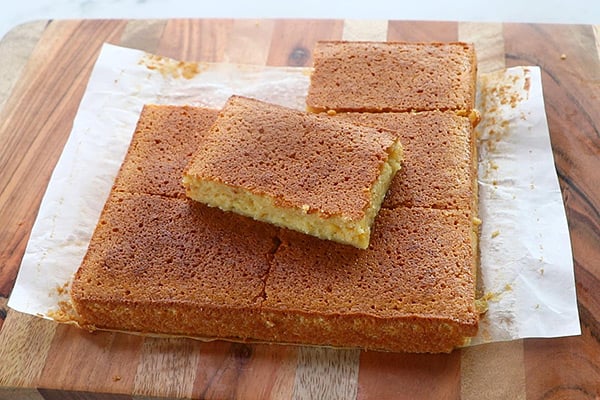
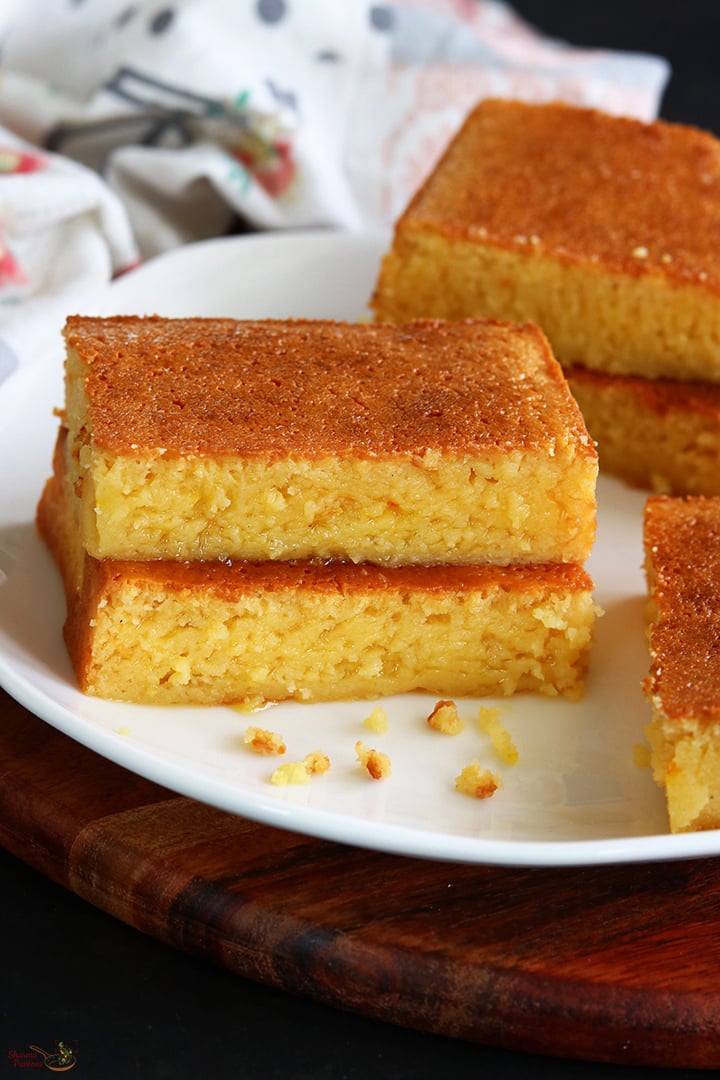
Enjoy!
Expert Tips
- Preparing khoya - I used full cream milk so got around 340 grams of khoya for 1.5 liters of milk. So I measured 200 grams and used it for the recipe. All 1.5 liters of milk does not yield the same measure of khoya, it varies depending on the fat content in milk. You can choose to buy unsweetened khoya or make your own.
- Flavouring - You can skip saffron but I recommend adding as it gives richness to the sweet.
- Mixing - Make sure the cooked khoya sugar mixture is warm and not hot while you add eggs.
- Baking - Check it by inserting a tooth pick in the center around 30 minutes, it it comes out clean then it is done, also it should have a golden brown top. Else bake for few more minutes. Each oven is different, so keep an eye.
- Slicing - Slice it once it completely cools.
Serving and Storage
Enjoy muttai mittai warm or cold. It keeps well in room temperature for 2 days and in fridge for about a week. However the taste is best when it is fresh so consume it within few days of making.
FAQS
1.Why it is called muttai mittai and other names for it?
It i made with egg as one of the main ingredient hence called as muttai mittai. It is also known as egg sweet, egg burfi, senji mutta mittai, senji egg sweet etc.
2.Can I make it eggless?
No the authentic taste and texture of muttai mittai comes only if we use eggs so I don't recommend making the sweet without eggs.
3.What does Muttai Mittai taste like?
It has a rich, sweet taste with a mild egg, milk flavour. The texture is soft, slightly chewy.
4.Why did my Muttai Mittai become hard?
Overcooking can make the sweet hard. Cook it only until sugar dissolves and bake only till the mentioned time, do not overcook or overbake.
5.Can I use brown sugar or jaggery instead of white sugar?
You can experiment with other sweeteners, but the colour, flavour and texture will change. White sugar gives a more traditional result.
If you have any more questions about this Muttai Mittai Recipe do mail me at sharmispassions@gmail.com. In addition, follow me on Instagram, Facebook, Pinterest, Youtube and Twitter .
Tried this Muttai Mittai Recipe? Do let me know how you liked it. Also tag us on Instagram @sharmispassions and hash tag it on #sharmispassions.
📖 Recipe Card
Mutta Mittai Recipe
Ingredients
To make khoya
- 1 ½ litres milk or 200 grams unsweetened khoya
To make muttai mittai
- 125 grams granulated white sugar
- 3 eggs
- ⅛ teaspoon cardamom powder
- 1 tiny pinch saffron
- 1 tablespoon warm milk
Instructions
- Take a heavy bottomed kadai, add 1 ½ liters full cream milk. Let it boil. Keep mixing and scraping the sides.
- Simmer and let it thicken.
- It took me almost 1 ½ hours for making khoya. I made khoya the previous day and made mutti mittai the next day. You can even use store bought readymade unsweetened khoya.
- Soak a tiny pinch saffron in 1 tablespoon warm milk, Set aside.
- Lay parchment paper inside a 6X6 inches cake tin. Brush with ghee on all sides.
- To a kadai add 200 grams khoya, 125 grams sugar, ⅛ teaspoon cardamom powder and soaked saffron milk.
- Heat it up and start cooking in low flame. Cook until sugar dissolves completely and it becomes goey like this. Switch off and cool down for 5-7 minutes.
- Now transfer the mixture to a mixing bowl. When it is still warm, add 3 eggs one at a time and whisk it well.
- Make sure to have the mixture warm while you add eggs. At the same time it should not be very hot.
- After all the 3 eggs are added, whisk it well to make it lump free. Finally add 3 tablespoon (around 40 grams) ghee. Preheat oven at 150 deg C for 10 minutes.
- Whisk it well and set aside.
- Transfer the batter to the cake tin.
- Bake in preheated oven at 150 DEG for 30-35 minutes.
- Cool down for a while then remove from cake tin.
- Cool down completely then cut into pieces.
- Muttai Mittai is ready!
- Enjoy!
Notes
- Preparing khoya - I used full cream milk so got around 340 grams of khoya for 1.5 liters of milk. So I measured 200 grams and used it for the recipe. All 1.5 liters of milk does not yield the same measure of khoya, it varies depending on the fat content in milk. You can choose to buy unsweetened khoya or make your own.
- Flavouring - You can skip saffron but I recommend adding as it gives richness to the sweet.
- Mixing - Make sure the cooked khoya sugar mixture is warm and not hot while you add eggs.
- Baking - Check it by inserting a tooth pick in the center around 30 minutes, it it comes out clean then it is done, also it should have a golden brown top. Else bake for few more minutes. Each oven is different, so keep an eye.
- Slicing - Slice it once it completely cools.
Leave a Reply