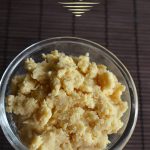
Khoya is a rich and creamy milk solid recipe made by slowly cooking full-fat milk until it thickens and reduces. It is an essential ingredient used in making many traditional Indian sweets like gulab jamun, burfi, and peda. Khoya adds richness, flavor, and the perfect texture to sweets, making them taste even more special. Learn to make perfect khoya with the help of step by step pictures.
Homemade khoya has a fresh, deep milky flavor that tastes much better than store-bought ones. Though the process takes a little time, it is very easy and needs only one ingredient - milk. You can easily make this soft, grainy, and delicious khoya at home. It is a must-have for many classic recipes during festivals and celebrations. Once you try making it at home, you will notice the difference in taste and freshness.
Jump to:
About Khoya
Khoya is also known as mawa, is a traditional milk solid made by evaporating the moisture from milk through a slow cooking process. As the milk simmers in low heat, it gradually thickens and transforms into a dense, crumbly base. The slow cooking process not only enhances the taste but also brings out the natural sweetness of milk, which complements the other ingredients in the dish perfectly.
This recipe is easily customizable. You can adjust the texture of khoya by adjusting the cooking time. A longer cooking time results in firmer, more crumbly khoya, while a shorter cooking time yields softer, creamier khoya. The key to achieving the perfect khoya is consistent, low heat and constant stirring to avoid burning the milk.
This is a complete homemade recipe. Unlike store-bought versions, which often contain preservatives, it is fresh, natural, and free from any artificial additives. This adds authentic taste and enhances the overall flavor profile of the dish. This recipe ensures that the khoya turns out the way you like it - smooth, rich, and full of flavor.
Khoya Ingredients
- Milk - Use full-fat milk for the best results. Fresh cow's milk or any good-quality packet milk works well for making rich, creamy khoya.
Similar Recipes
Why This Recipe Works
- It requires just one simple ingredient and no special equipment.
- Using full-fat milk results in a creamy, authentic texture.
- You can customize the flavor and texture of the khoya according to your preference.
- It is a versatile base for a wide range of Indian sweets and gravies.
- It's fresh, homemade khoya has a richer taste compared to store-bought ones.
- No preservatives or additives - pure and healthy.
- It is budget-friendly compared to buying ready-made khoya.
How to make Khoya Step by Step
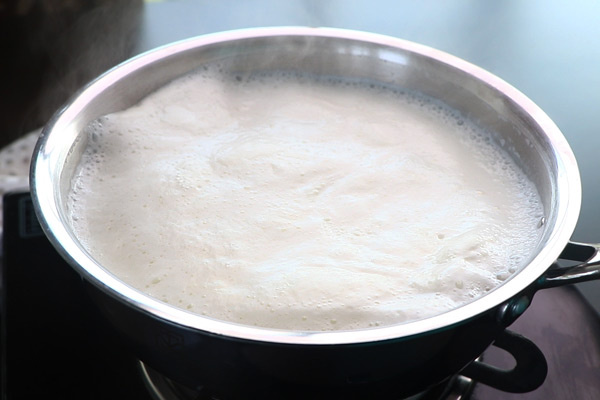
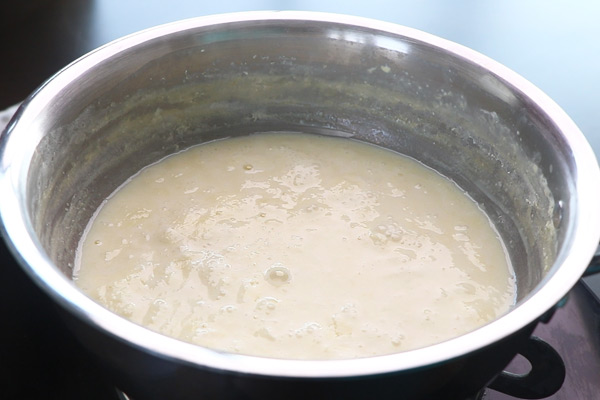
1.Boil ½ liter milk. Give a quick mix and simmer.
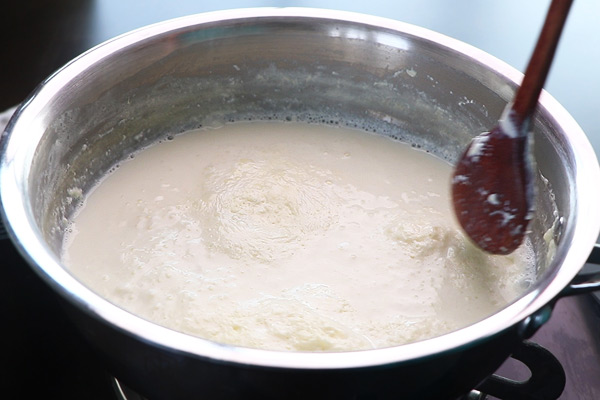
2.Let it simmer until it starts to reducing. Meanwhile scrape the sides and add the milk solids back to the boiling milk. Let it boil, keep the flame in low or low medium but take care to stir often. This is after almost 20 minutes.
3.Give a quick mix and let it simmer again. Keep stirring often to avoid burning at the bottom.
4.Milk starts to thicken.
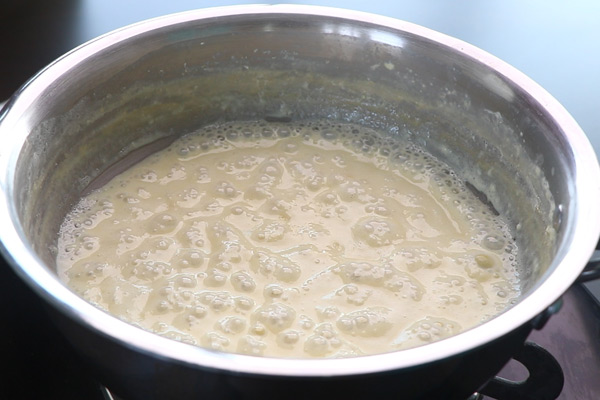
5.At one stage it will thicken and start to leave the sides of the pan. Keep stirring and cooking in low flame.
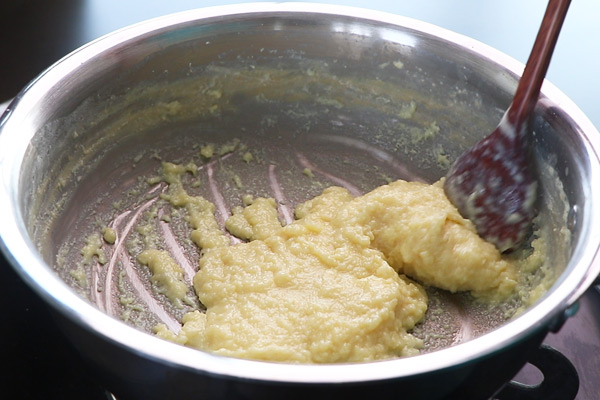
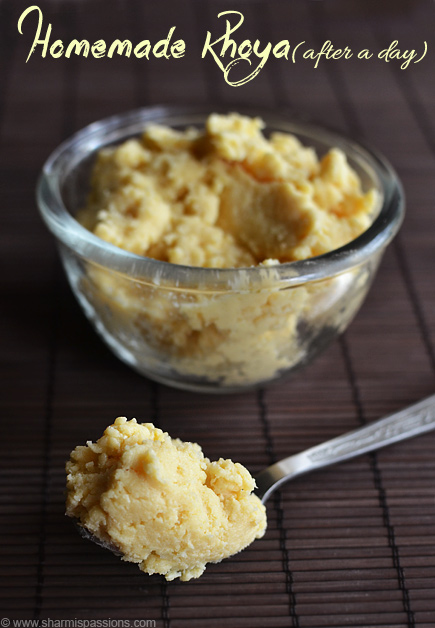
7.Now homemade khoya is ready. Switch off, transfer to a bowl and set it aside.

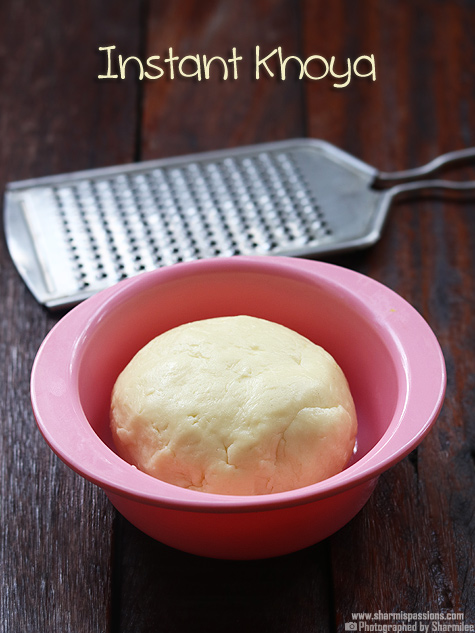
Instant Khoya Recipe
Instant Khoya comes handy when you need khoya instantly for making sweets and desserts. This method is very easy and takes just few minutes of your time.
How to make Instant Khoya Step by Step
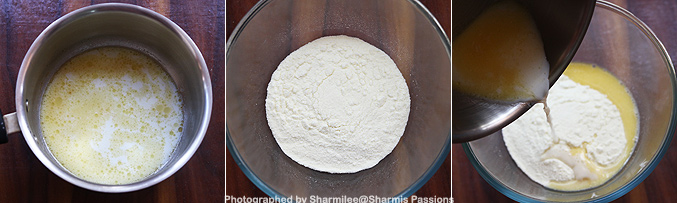
1. Take 1 tablespoon ghee in a pan, add 4 tablespoon milk to it. Heat it up for 2 minutes and switch off. Take 1 heaped cup milk powder in a mixing bowl add the milk mixture to it.
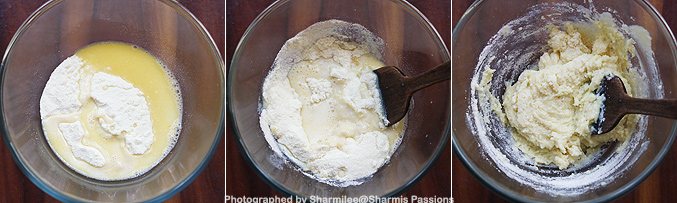
2.Mix it well with a ladle.
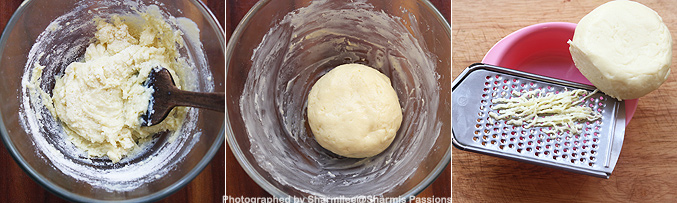
3.Gather to form a ball. It will be sticky and soft, after sometime will become hard. Refrigerate and use when required. You can crumble with your hands or grate and use it.
Store in fridge.
Expert Tips
- Use of Pan - Use a Nonstick or Heavy bottomed pan which helps prevent the milk from sticking and burning during long cooking hours.
- Stir Frequently - Stirring the milk frequently is essential to ensure even cooking. This prevents the milk from forming a crust at the bottom of the pan, which can burn and spoil the texture.
- Heat - Keeping the flame low helps slow evaporation without risking burning. It takes time but worth every minute.
- Scrape sides - Don't waste the milk solids stuck on the sides, scrape and mix them back into the milk regularly.
- Spatula - Use a spatula that is easy to scrape and mix.
- Cooling - Cooling the khoya properly helps it thicken further and prevents moisture buildup during storage.
- Instant version - Mix 1 cup milk powder, 1 tablespoon ghee, and 4 tablespoon milk. Cook on low heat, keep stirring until it thickens. Your instant khoya is ready.
Serving and Storage
Homemade khoya can be used for making sweets like gulab jamun, burfi, or peda.
Store khoya in a clean, airtight container and refrigerate. It stays fresh for up to 5 days in fridge. For a longer shelf life, it's recommended to freeze the khoya.
FAQS
1. Can I use toned milk instead of full-fat milk for making khoya?
Yes, but full-fat milk gives a richer and creamier khoya compared to toned milk. Also the quantity of khoya is little more when using full cream milk.
2. How do I know when the khoya is ready?
When it forms a thick mass with no visible liquid and leaves the sides of the pan clean, your khoya is ready.
3. Why is my khoya sticky and soft?
Khoya is soft when hot but firms up after cooling completely.
4. Can I make khoya without a nonstick pan?
Yes, use a heavy bottomed pan but you must stir even more frequently to avoid burning if using a regular pan.
5. Can I flavor the khoya?
Yes, you can add a pinch of cardamom powder at the end if using it immediately for sweets.
6. How do I store khoya for a longer time?
Freeze khoya in a freezer-safe box. Thaw it overnight in the fridge before using.
If you have any more questions about this Khoya Recipe do mail me at sharmispassions@gmail.com. In addition, follow me on Instagram, Facebook, Pinterest, Youtube and Twitter .
Tried this Khoya Recipe? Do let me know how you liked it. Also tag us on Instagram @sharmispassions and hash tag it on #sharmispassions.
📖 Recipe Card
Khoya Recipe | Instant Mawa Recipe
Ingredients
Traditional Version
- ½ litre milk
Instant Version
- 1 tablespoon ghee
- 4 tablespoon milk
- 1 cup milk powder
Instructions
Traditional Method
- Boil ½ liter milk. Give a quick mix and simmer.
- Let it simmer until it starts to reducing. Meanwhile scrape the sides and add the milk solids back to the boiling milk. Let it boil, keep the flame in low or low medium but take care to stir often. This is after almost 20 minutes.
- Give a quick mix and let it simmer again. Keep stirring often to avoid burning at the bottom.
- Milk starts to thicken.
- At one stage it will thicken and start to leave the sides of the pan. Keep stirring and cooking in low flame.
- Now homemade khoya is ready. Switch off, transfer to a bowl and set it aside.
Instant Method
- Take 1 tablespoon ghee in a pan, add 4 tablespoon milk to it. Heat it up for 2 minutes and switch off. Take 1 heaped cup milk powder in a mixing bowl add the milk mixture to it.
- Mix it well with a ladle.
- Gather to form a ball. It will be sticky and soft, after sometime will become hard. Refrigerate and use when required. You can crumble with your hands or grate and use it.
Notes
- Use of Pan - Use a Nonstick or Heavy bottomed pan which helps prevent the milk from sticking and burning during long cooking hours.
- Stir Frequently - Stirring the milk frequently is essential to ensure even cooking. This prevents the milk from forming a crust at the bottom of the pan, which can burn and spoil the texture.
- Heat - Keeping the flame low helps slow evaporation without risking burning. It takes time but worth every minute.
- Scrape sides - Don't waste the milk solids stuck on the sides, scrape and mix them back into the milk regularly.
- Spatula - Use a spatula that is easy to scrape and mix.
- Cooling - Cooling the khoya properly helps it thicken further and prevents moisture buildup during storage.
- Instant version - Mix 1 cup milk powder, 1 tablespoon ghee, and 4 tablespoon milk. Cook on low heat, keep stirring until it thickens. Your instant khoya is ready.


Deepa
Am waiting for this. Thanks
Sakunthala
Thanks for this recipe
jaitali koli
sharmi... i would definitely give a try
jaitali koli
sharmi.. i would definitely try
roshini
hi, how long should I wait after making the khoya to prepare gulab jamun ? I just finished making the khoya and home made butter
SHARMILEE J
Let it cool down for an hr then start kneading....
anjani kumawat
Can i use malai for making mawa
SHARMILEE J
Mawa with malai that sounds new to me...not really sure