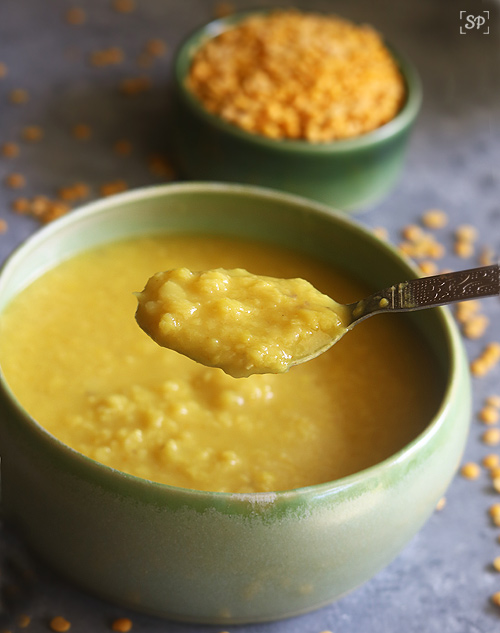
How to cook dal in instant pot using step by step pictures.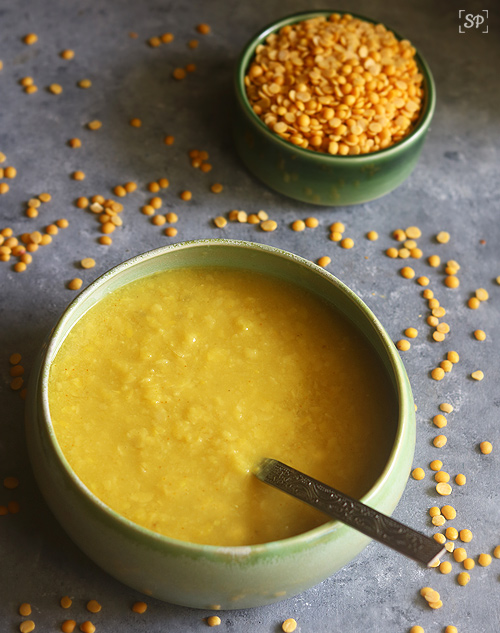
Dal is a basic staple in every household.Usually we use pressure cooker to cook dal but recently after owning IP ,I have started to cook dal in IP as its less messy and convenient too.Hope this basic how to cook dal in IP will be useful for beginners.
Instant Beginners Guide
If you have any more questions about this How to cook dal in instant pot do mail me at sharmispassions@gmail.com. In addition, follow me on Instagram, Facebook, Pinterest, Youtube and Twitter .
Tried this How to cook dal in instant pot ? Do let me know how you liked it. Also tag us on Instagram @sharmispassions and hash tag it on #sharmispassions.
📖 Recipe Card
How to Cook Dal in Instant Pot
Ingredients
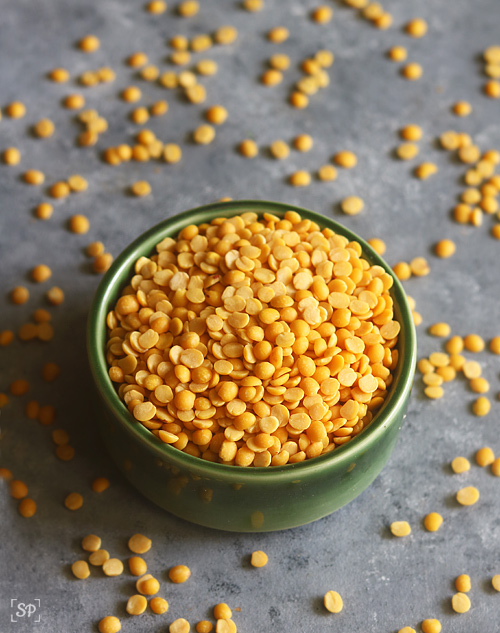
- ½ cup toor dal
- 1 and ½ cups water
Instructions
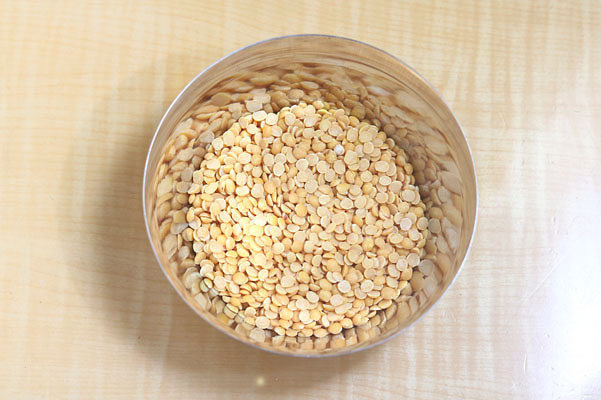
- Take toor dal in a bowl.
- Add water to it, rinse it well at least 2-3 times.
- Drain water.
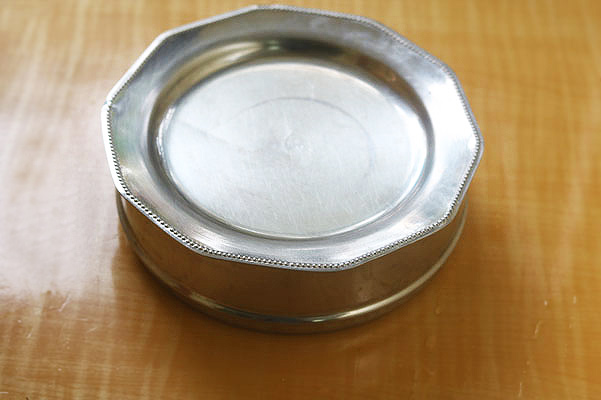
- Now add water to it. I transferred to my cooker stacking bowl.
- Add turmeric powder and a few drops of oil.
- Keep covered.
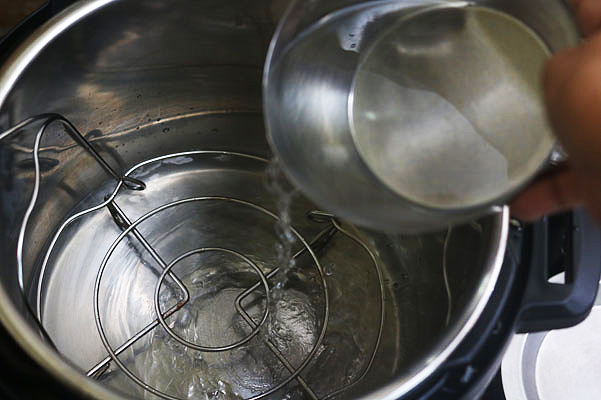
- Place the trivet inside the inner pot.Pour 1 cup water to it.
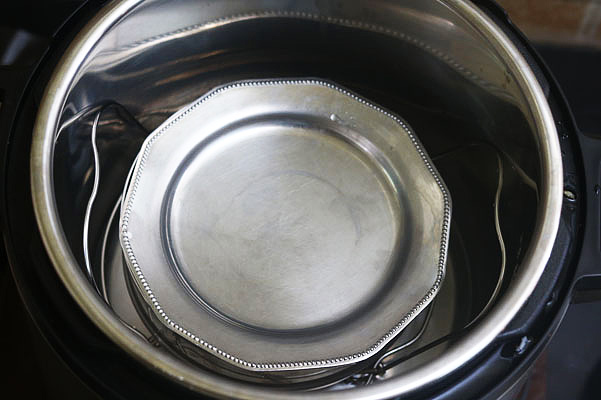
- Place the bowl inside on the trivet.
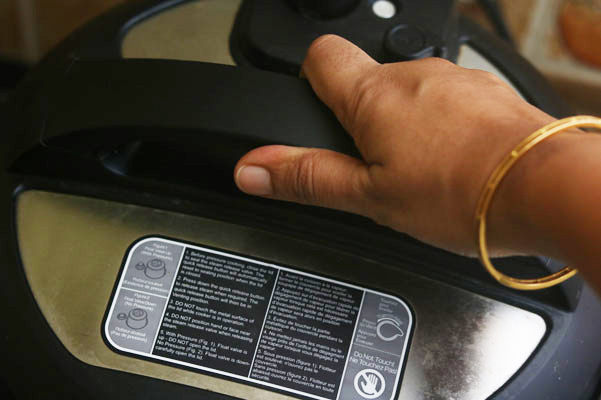
- Now close with lid.
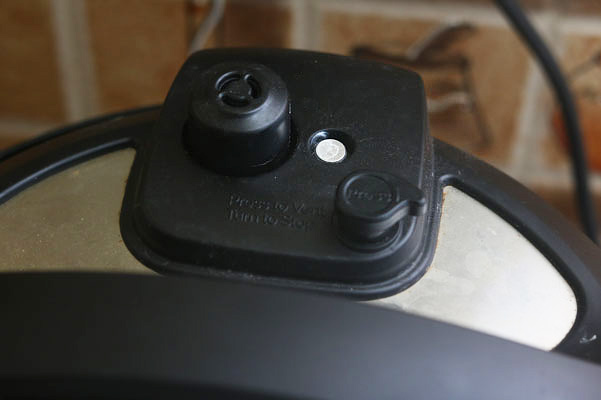
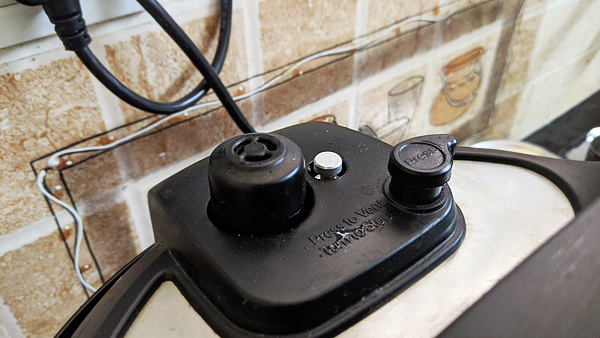
- Inititally the steel button is down.
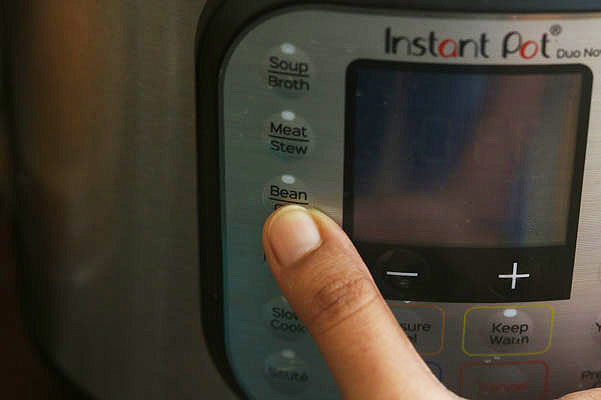
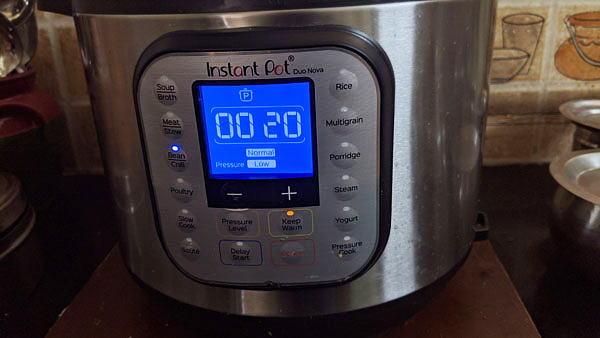
- Press the bean / chilli mode.
- Keep pressure level low.
- Now the instant pot has started.It takes few mins to change from ON to timer(in bean mode its 20 mins) and only when then the timer is shown the actual cooking time starts.
- Inititally the steel knob is down and when it starts to cook it automatically goes up. When the knob is up it means cooking is in process/started and when its down pressure is released and you are ready to open the lid. Do not open the lid when the knob is up.
- Bean / chilli mode automatically sets temperature to 20 mins. The timer is shown so the actual cooking time starts only. You can either change this 20 mins or leave it as such. Make it 25 mins if its for sambar / rasam and you need nicely mushy dal. Incase if you want to use dal for kootu, dal tadka etc 20 mins will be enough.
- 20 mins done and it gives a beep sound to indicate that its done.
- After the time is over, it automatically goes to keep warm mode but still the steel know will be up only. Now you can either manually pressure release or naturally let it release. I usually let it release naturally, it takes from 10 mins to 30 mins depending on the water content inside. But incase if you are in a hurry, release it after 10 mins. Only when the steel button goes down(indicates that pressure is released) its ready to open so keep an eye.
- Incase you want to manually pressure release push 'press' button.
- Open the lid.
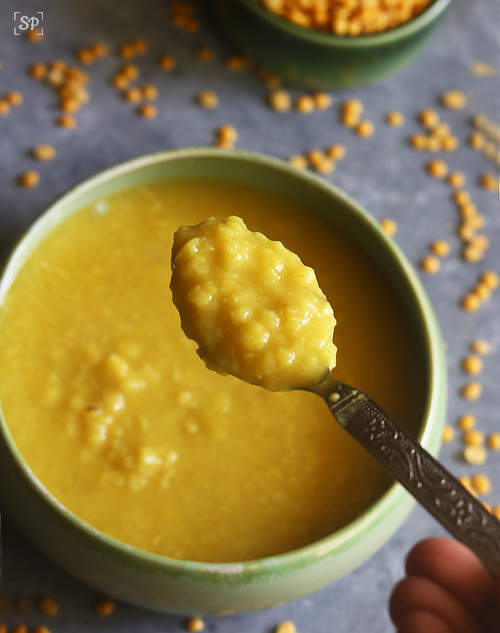
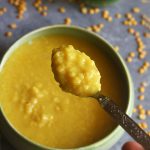
- Dal is cooked.
- Mash it well and use it for your recipes.
Notes
- If you want nicely mushy dal then set timer to 25 mins if its for sambar/rasam.
- For dal tadka, dal fry, kootu 20 mins will be enough.
Pressure level : Low
Timer : 20 mins
Release : NPR(Natural pressure release) by itself
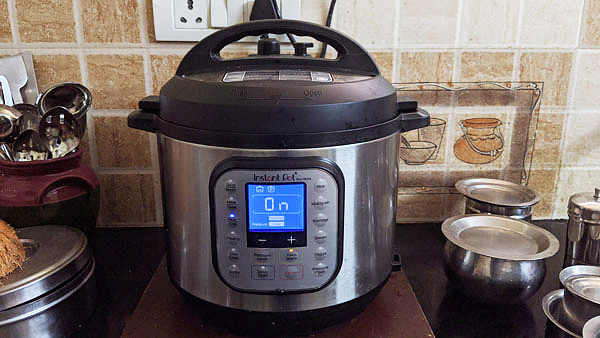
How to cook dal in Instant Pot
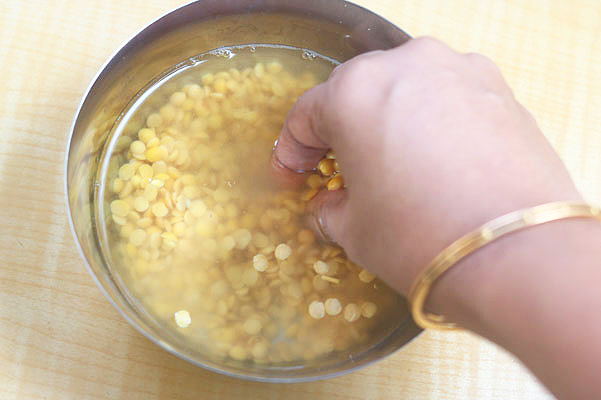
Take toor dal in a bowl.
Add water to it, rinse it well atleast 2-3 times.
Drain water .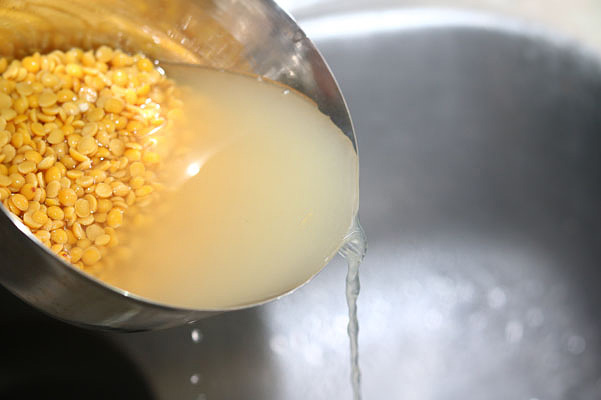
Now add water to it.I transferred to my cooker stacking bowl.
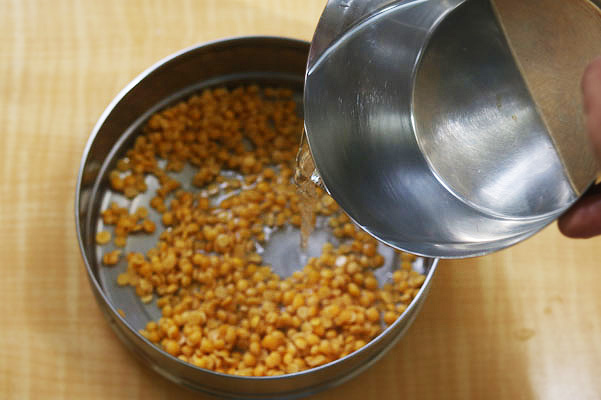
Add turmeric powder and a few drops of oil.
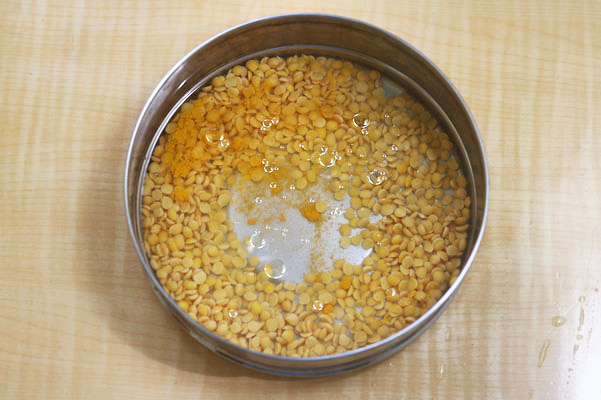
Keep covered.
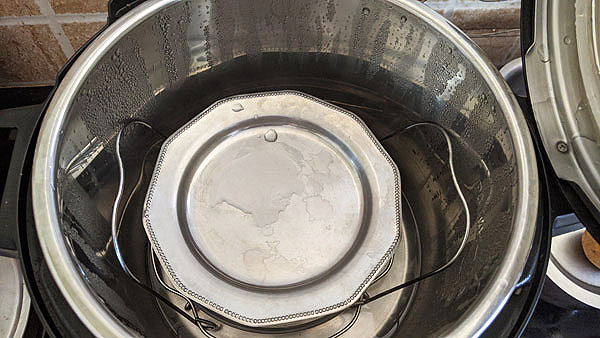
Place the trivet inside the inner pot.Pour 1 cup water to it.
Place the bowl inside on the trivet.
Now close with lid.
Inititally the steel button is down.
Press the bean / chilli mode.
Keep pressure level low.
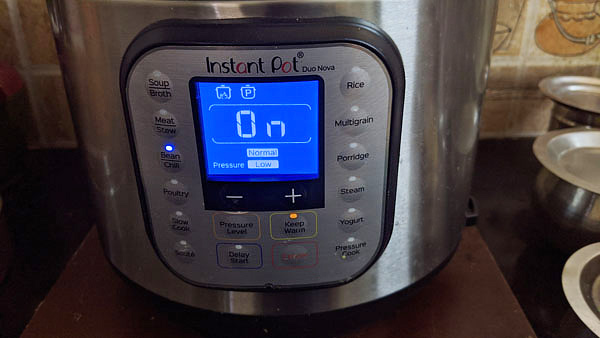
Now the instant pot has started.It takes few mins to change from ON to timer(in bean mode its 20 mins) and only when then the timer is shown the actual cooking time starts.
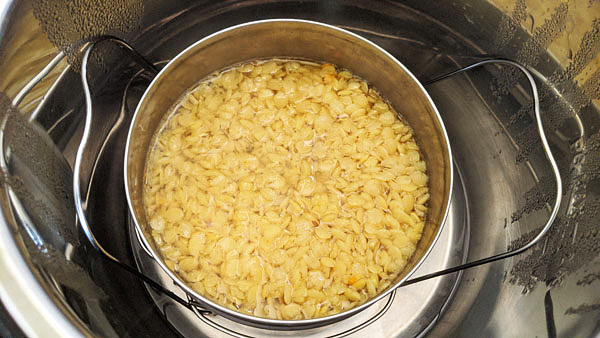
Inititally the steel knob is down and when it starts to cook it automatically goes up as shown.When the knob is up it means cooking is in process/started and when its down pressure is released and you are ready to open the lid.Do not open the lid when the knob is up.
Bean / chilli mode automatically sets temperature to 20 mins.The timer is shown so the actual cooking time starts only.You can either change this 20 mins or leave it as such.Make it 25 mins if its for sambar / rasam and you need nicely mushy dal.Incase if you want to use dal for kootu,dal tadka etc 20 mins will be enough.
20 mins done and it gives a beep sound to indicate that its done.
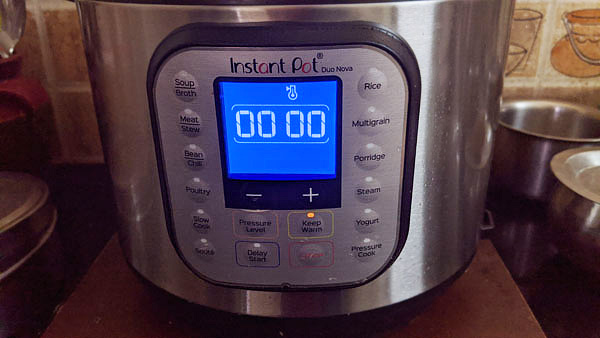
After the time is over, it automatically goes to keep warm mode but still the steel know will be up only.Now you can either manually pressure release or naturally let it release.I usually let it release naturally, it takes from 10 mins to 30 mins depending on the water content inside.But incase if you are in a hurry, release it after 10 mins.Only when the steel button goes down(indicates that pressure is released) its ready to open so keep an eye.
Incase you want to manually pressure release push 'press' button.
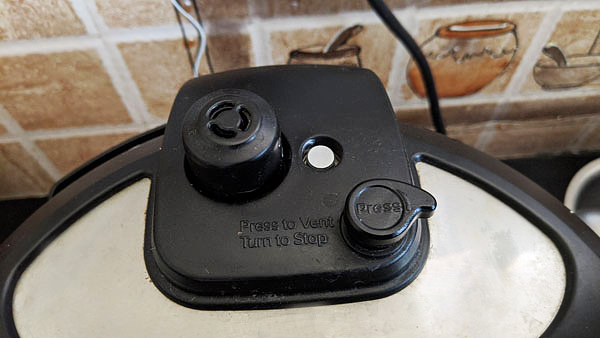
Open the lid.
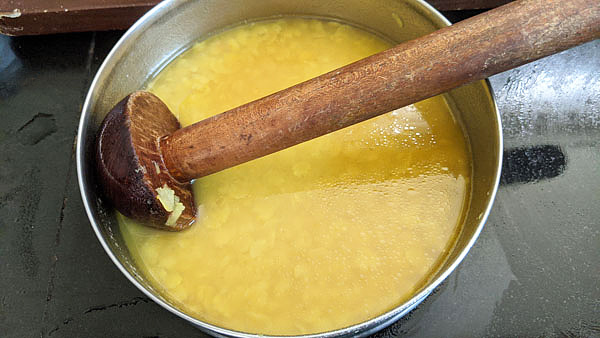
Dal is cooked.
Mash it well and use it for your recipes.
Cooked dal is ready to use for recipes.
Rohni
Looking forward to more instant pot recipes